

Lab 10Personalize an agent for its users
You model two user profiles, adapt the Gym Agent to each of them in the editor, and generate one agent that switches behaviour per profile.
- Time
- 55 min
- Level
- Intermediate
- Runs with
- Browser, Python, Docker, API key
- Do first
- Lab 1
You'll learn to
- Describe a user group as a User diagram with matching criteria
- Configure presentation, modality and content per user profile on the Agent Customization page
- Switch between the base agent and its personalized variants
- Generate one agent that serves several profiles and run it with its user database
You'll need
- A modern browser
- Only to run the agent: Python 3.11 or 3.12 with BAF installed, Docker, and an OpenAI API key with credit
Files for this lab
A company builds digital assistants for fitness centres. Its Gym Agent greets the user, waits for a question, sorts it into training, nutrition or other, gives a generic answer and goes back to waiting. That works for an average visitor, but not for everyone: an elderly visitor may prefer spoken interaction and larger text, and a visitor who uses a wheelchair needs workouts that do not rely on the legs.
In this lab you model those two users and let BESSER adapt the agent to each. You describe each profile in a User diagram, attach a customization to it on the Agent Customization page, and generate a single agent that asks the user for their profile and then runs the matching variant. The editor part needs only a browser. Running the agent is optional and needs Python, Docker and an OpenAI key.
The lab assumes you know the editor basics from Your first class diagram. Build agents with the BESSER Agentic Framework explains how the generated agent code works, but you do not need it here.
Load the Gym Agent and inspect it
- Open editor.besser-pearl.org, choose Start modelling, name the project
Gym Coach, pick the Agent Developer perspective and click Create Project. The sidebar now shows Agent and User. - Click Agent, then open File > Load Template, select the Agent Diagram category, select Gym Agent and click Load Template.
- Zoom out with the - button at the bottom right until you see the whole diagram.
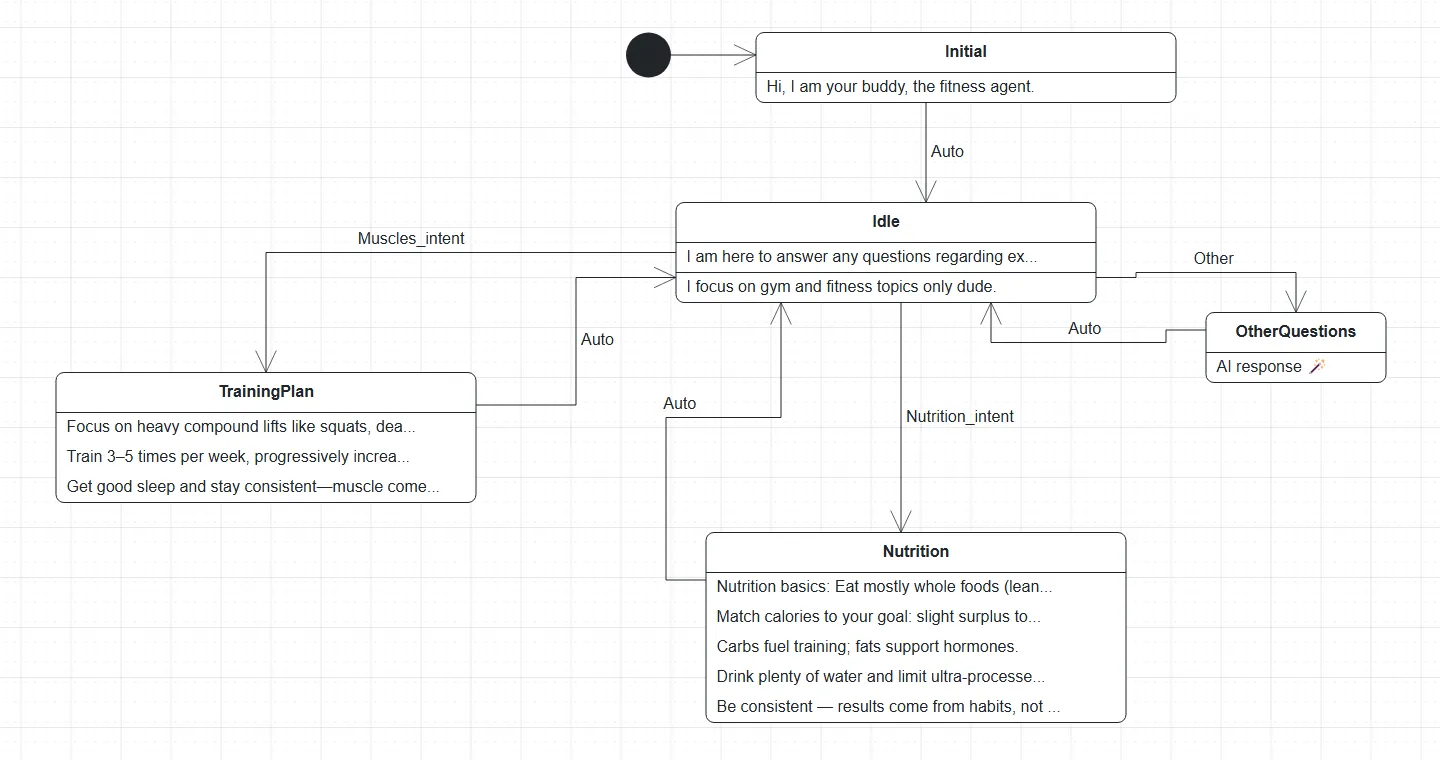
Read the diagram:
- States are the rounded boxes. Each row under the name is one reply the agent sends when it enters the state.
Idlehas a second, fallback reply for messages that match no intent.OtherQuestionshas a single AI response row: an LLM answers. - Transitions are the arrows.
Autofires as soon as the state has replied.Muscles_intent,Nutrition_intentandOtherfire when the user’s message matches that intent.
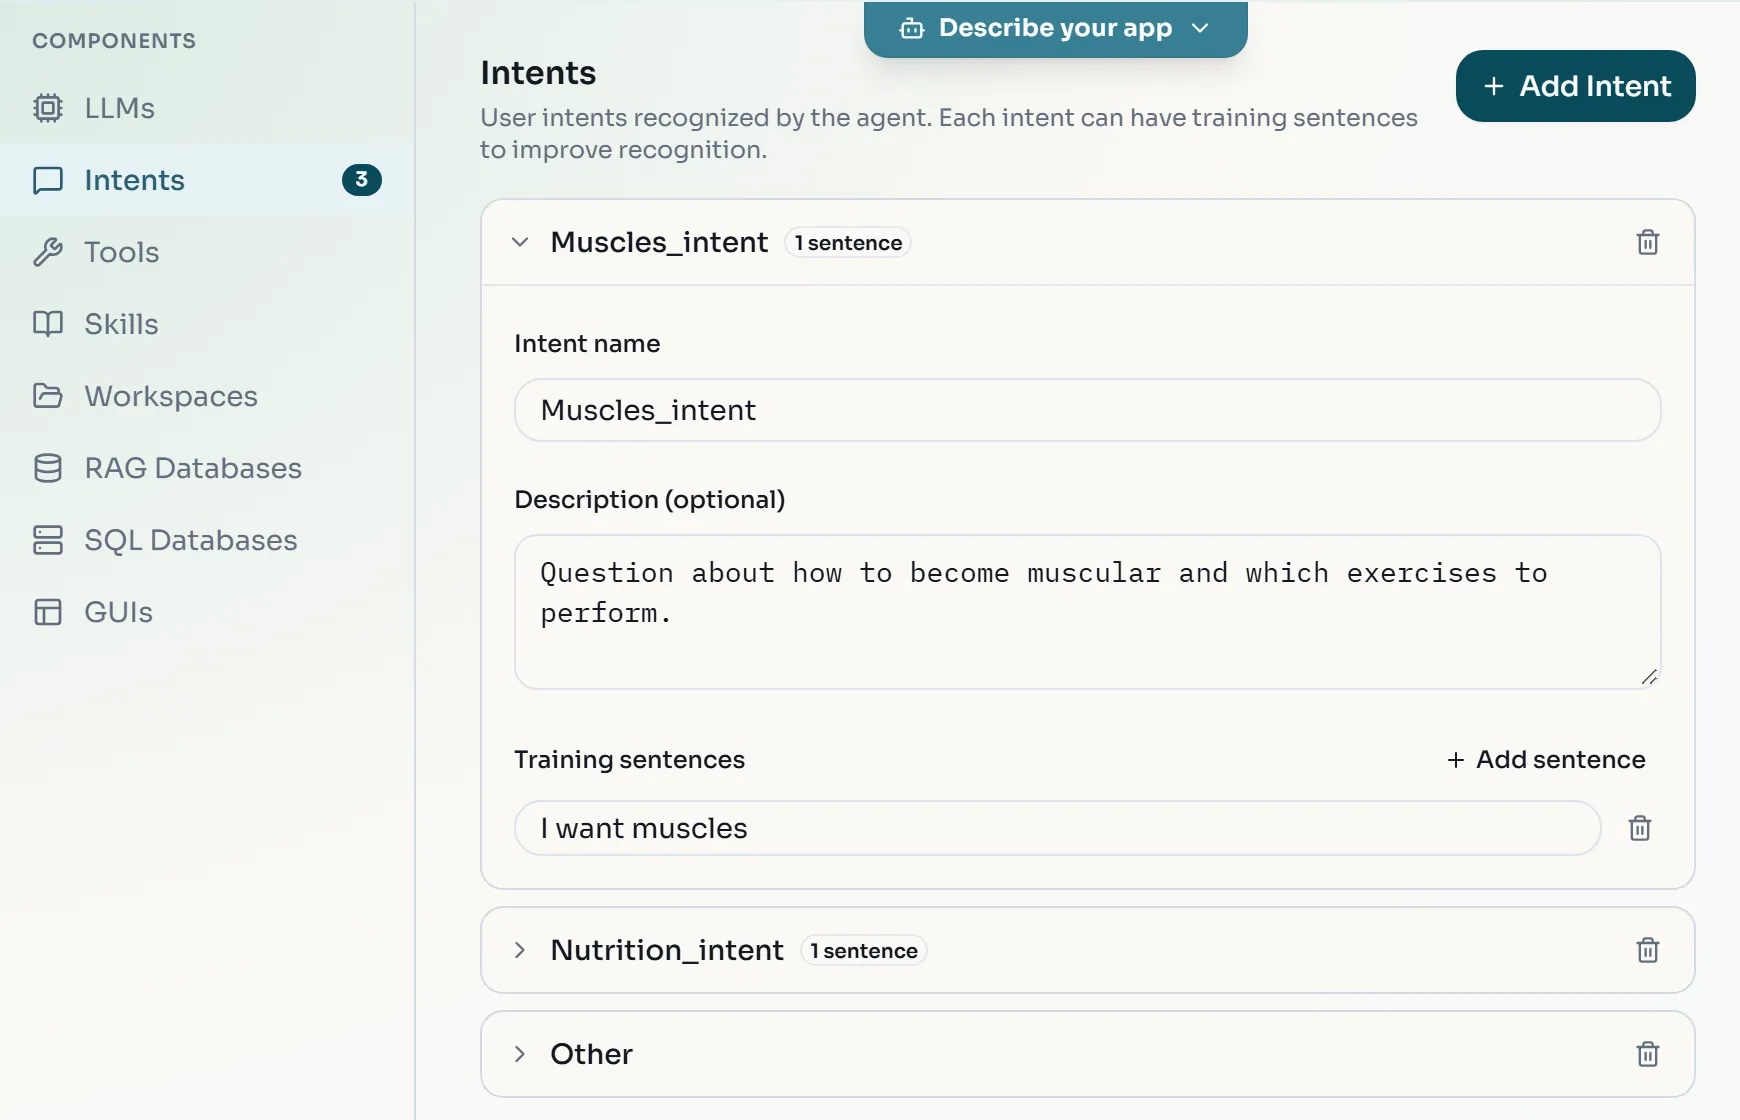
- Click Components under Agent and open Intents. Expand Muscles_intent.
Give the agent an LLM
The template uses an LLM in two places: to classify messages into intents and to answer in OtherQuestions. The personalized variants also pass their profile to this LLM. Declare it now, before you create variants.
-
On Components, open LLMs and click Add LLM. Enter
gpt-4o-minias Model Name, keep Provider on OpenAI and tick Set as default LLM.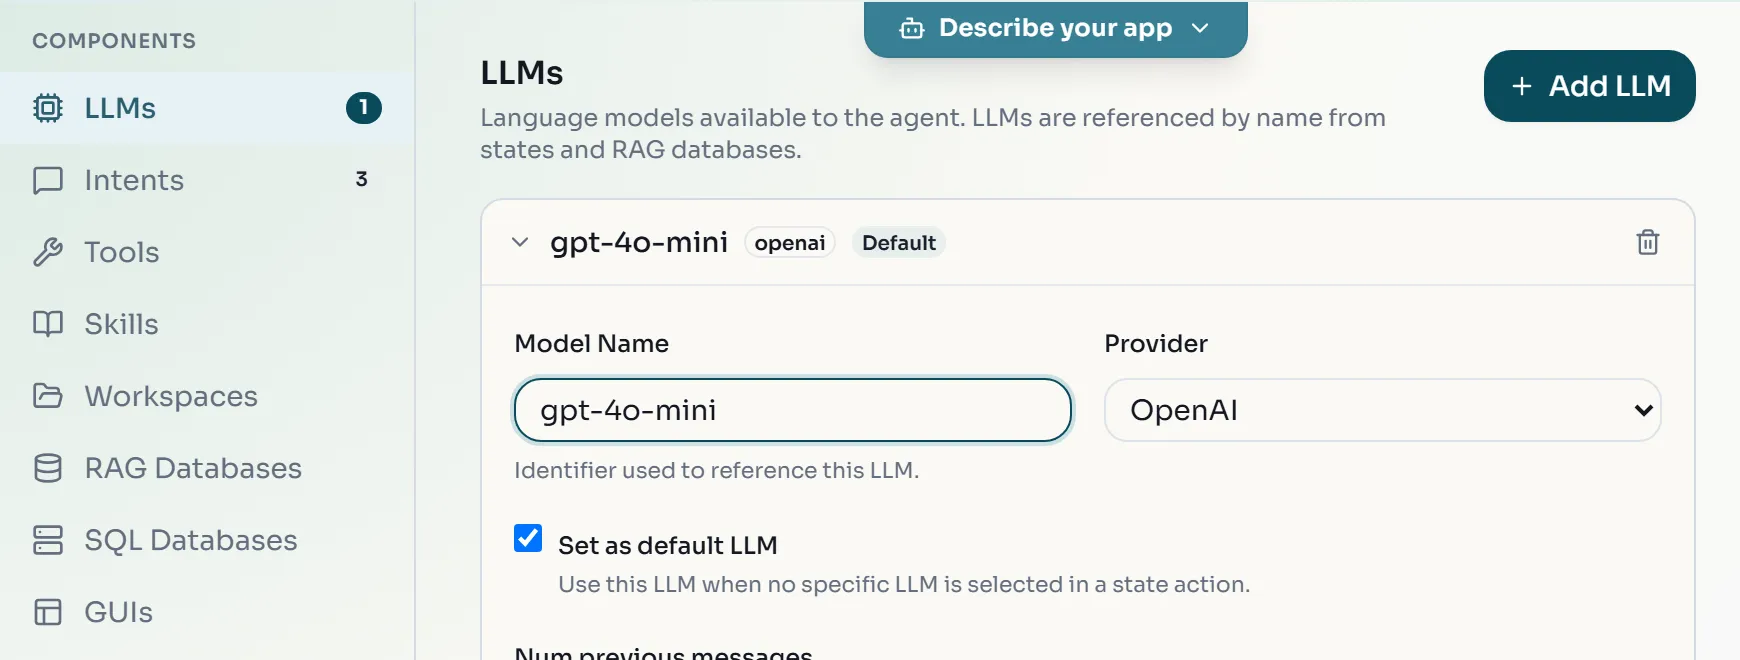
For OpenAI, the model name is the OpenAI model id -
Click Agent Customization under Agent. On the Agent Runtime tab, set Intent Recognition to LLM-based. Keep Platform on WebSocket with Use Streamlit UI ticked.
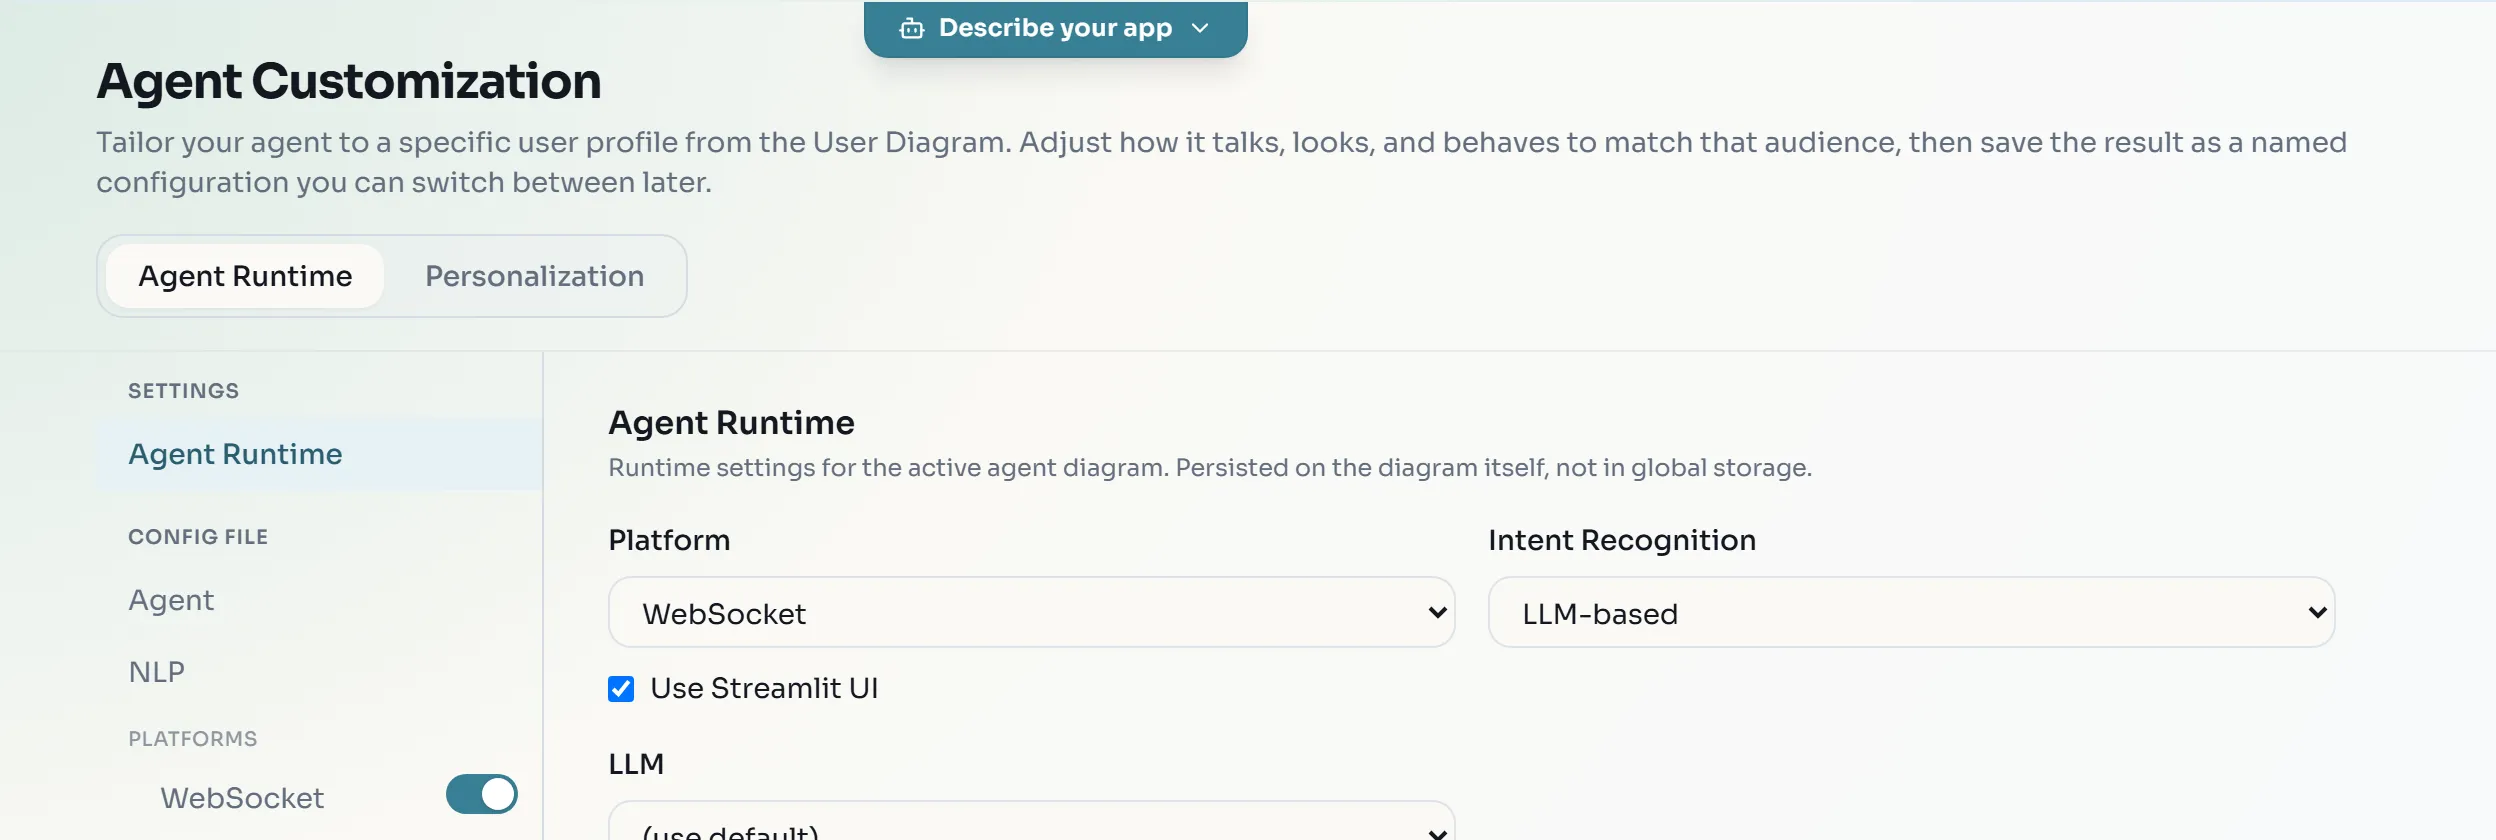
LLM-based recognition matches messages by the intent descriptions you just read
Model the Elderly profile
A User diagram describes a group of users by criteria on a fixed user model: User is the root, with parts such as Personal_Information, Accessibility, Competence and Culture. You can drag these parts from the palette and link them, but the form editor is faster and cannot produce an invalid structure.
-
Click User in the sidebar. The palette on the left lists User, Personal_Information, Competence, Accessibility, Culture, Language and more.
-
Click Edit as Form at the top right. The User Profile Form opens with User as ROOT.
-
Tick Include next to Personal Information, then click Personal Information to expand it.
-
In the
agerow, choose>in the operator list and enter65. Leave the other fields empty: an empty field is not a criterion.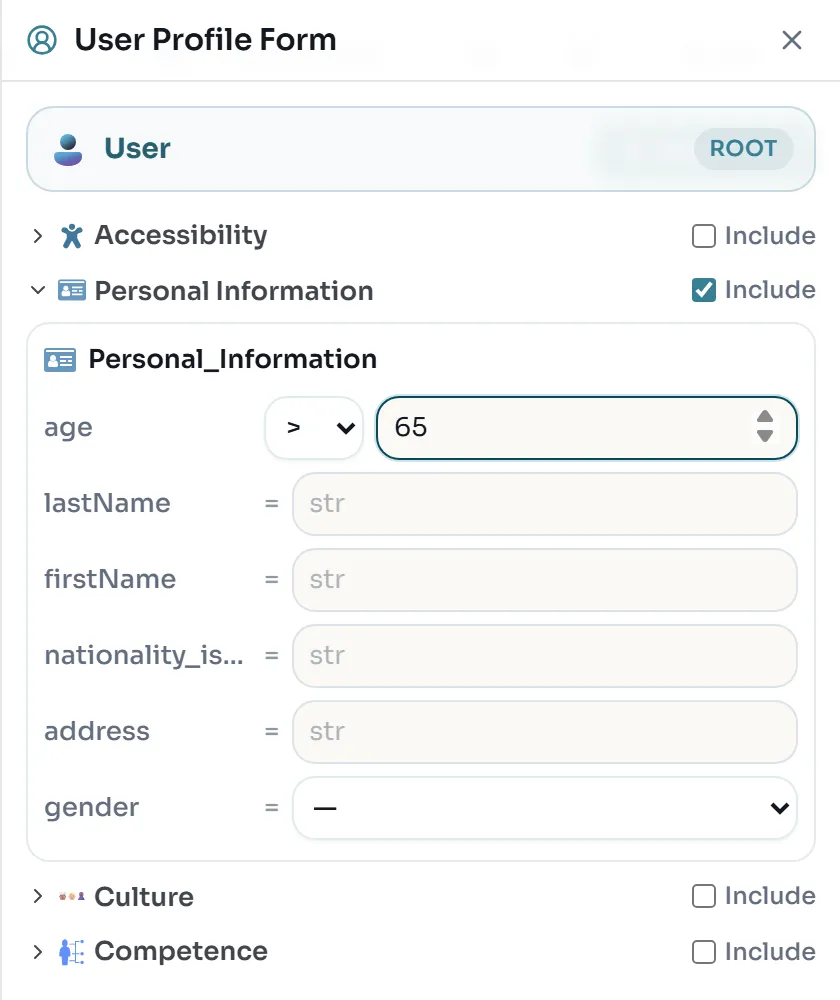
Only numeric fields get an operator; text and enumeration fields always mean equals -
Close the form with the cross at its top right.
-
Double-click the diagram tab User Diagram, type
Elderlyand press Enter. -
Click Quality Check in the top bar.
Model the Paraplegic profile
-
Click + next to the
Elderlytab to add a second User diagram. -
Click Edit as Form, tick Include next to Accessibility and expand it.
-
Next to Disability, click Add, then click Disability to expand it.
-
Fill in Disability 1:
name=Paraplegic,description=Cannot use lower body, and chooseMobilityforaffects.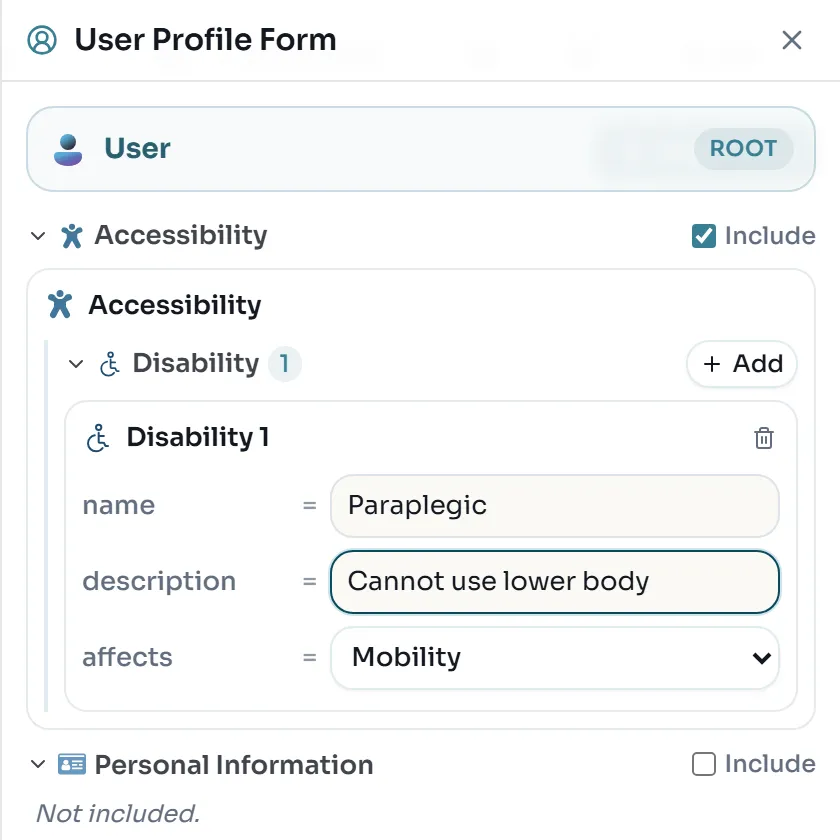
affects is an enumeration of the user model, so it is a dropdown -
Close the form, rename the tab to
Paraplegicand click Quality Check.
Customize the agent for the Elderly profile
-
Click Agent, then Agent Customization, and switch to the Personalization tab.
-
Under User Profile Mapping, choose
Elderly.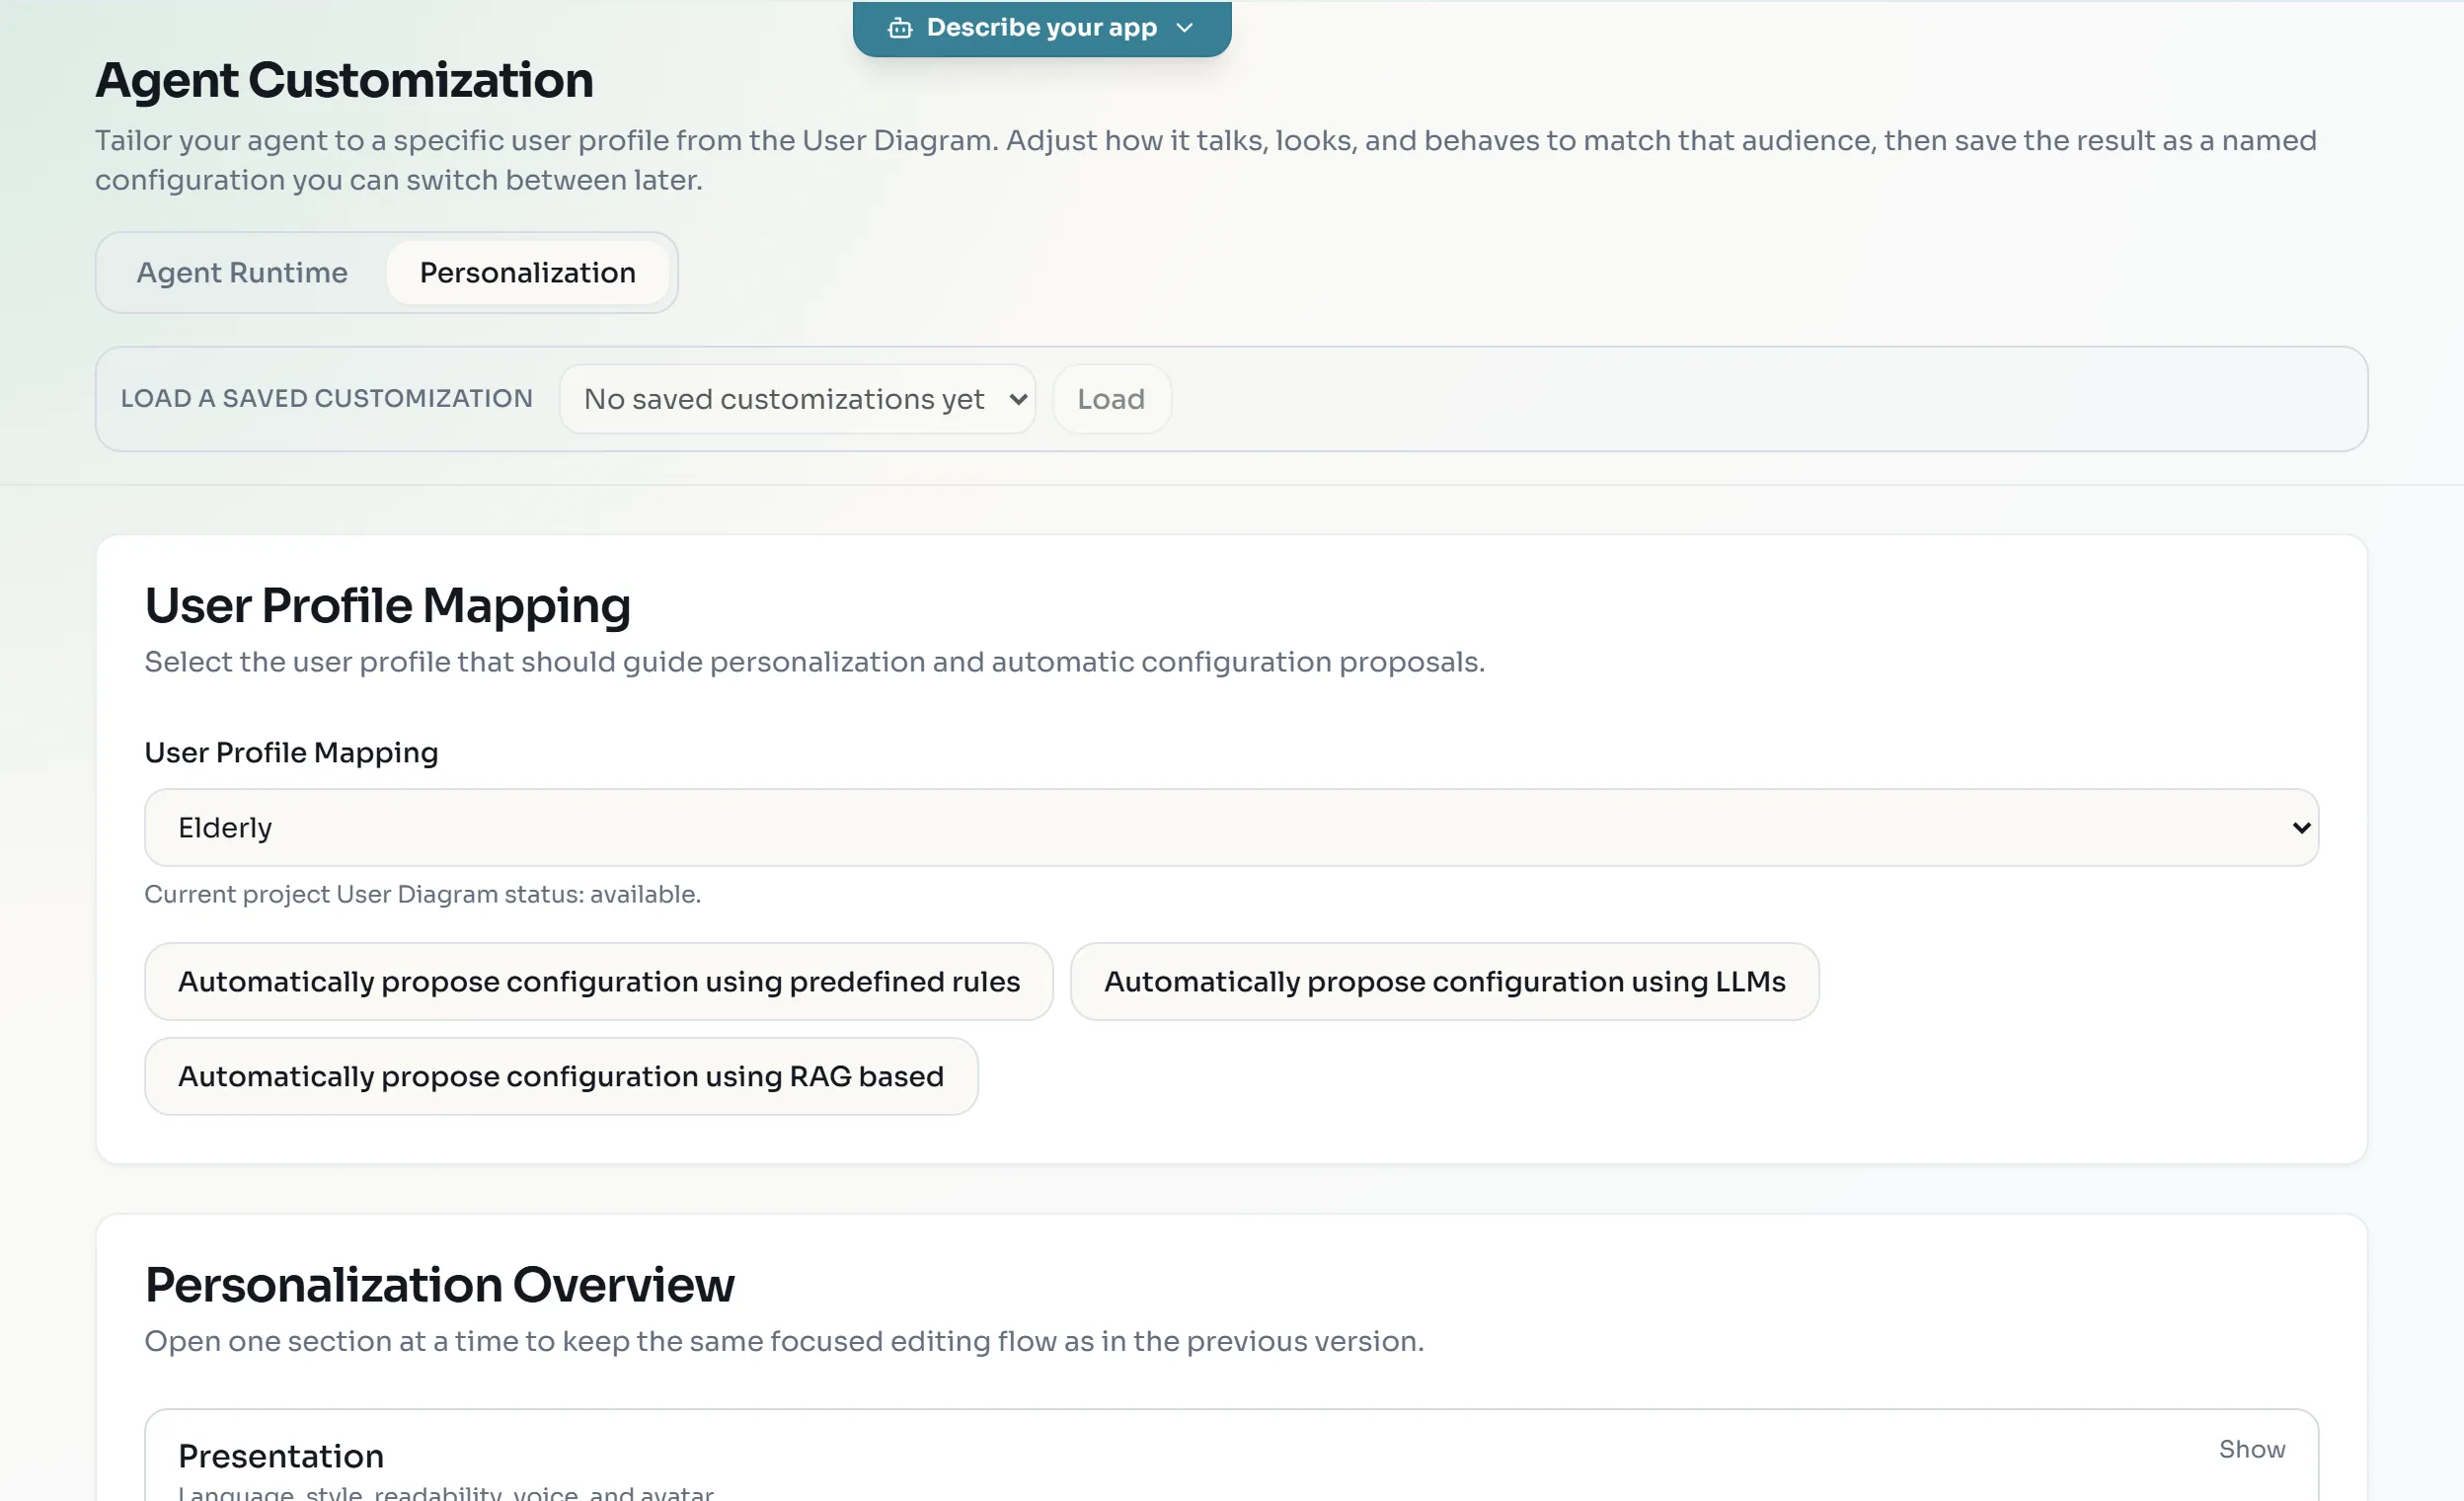
The list shows one entry per User diagram tab The three Automatically propose configuration using … buttons fill the form for you, from predefined rules, an LLM or a RAG source. They need a GitHub sign-in (GitHub button in the top bar); without one they show
Sign in to GitHub to use recommendations.You can skip them and set the values by hand. -
Under Personalization Overview, click Presentation. Under Style of text in interface, set Size to
20and Contrast to High.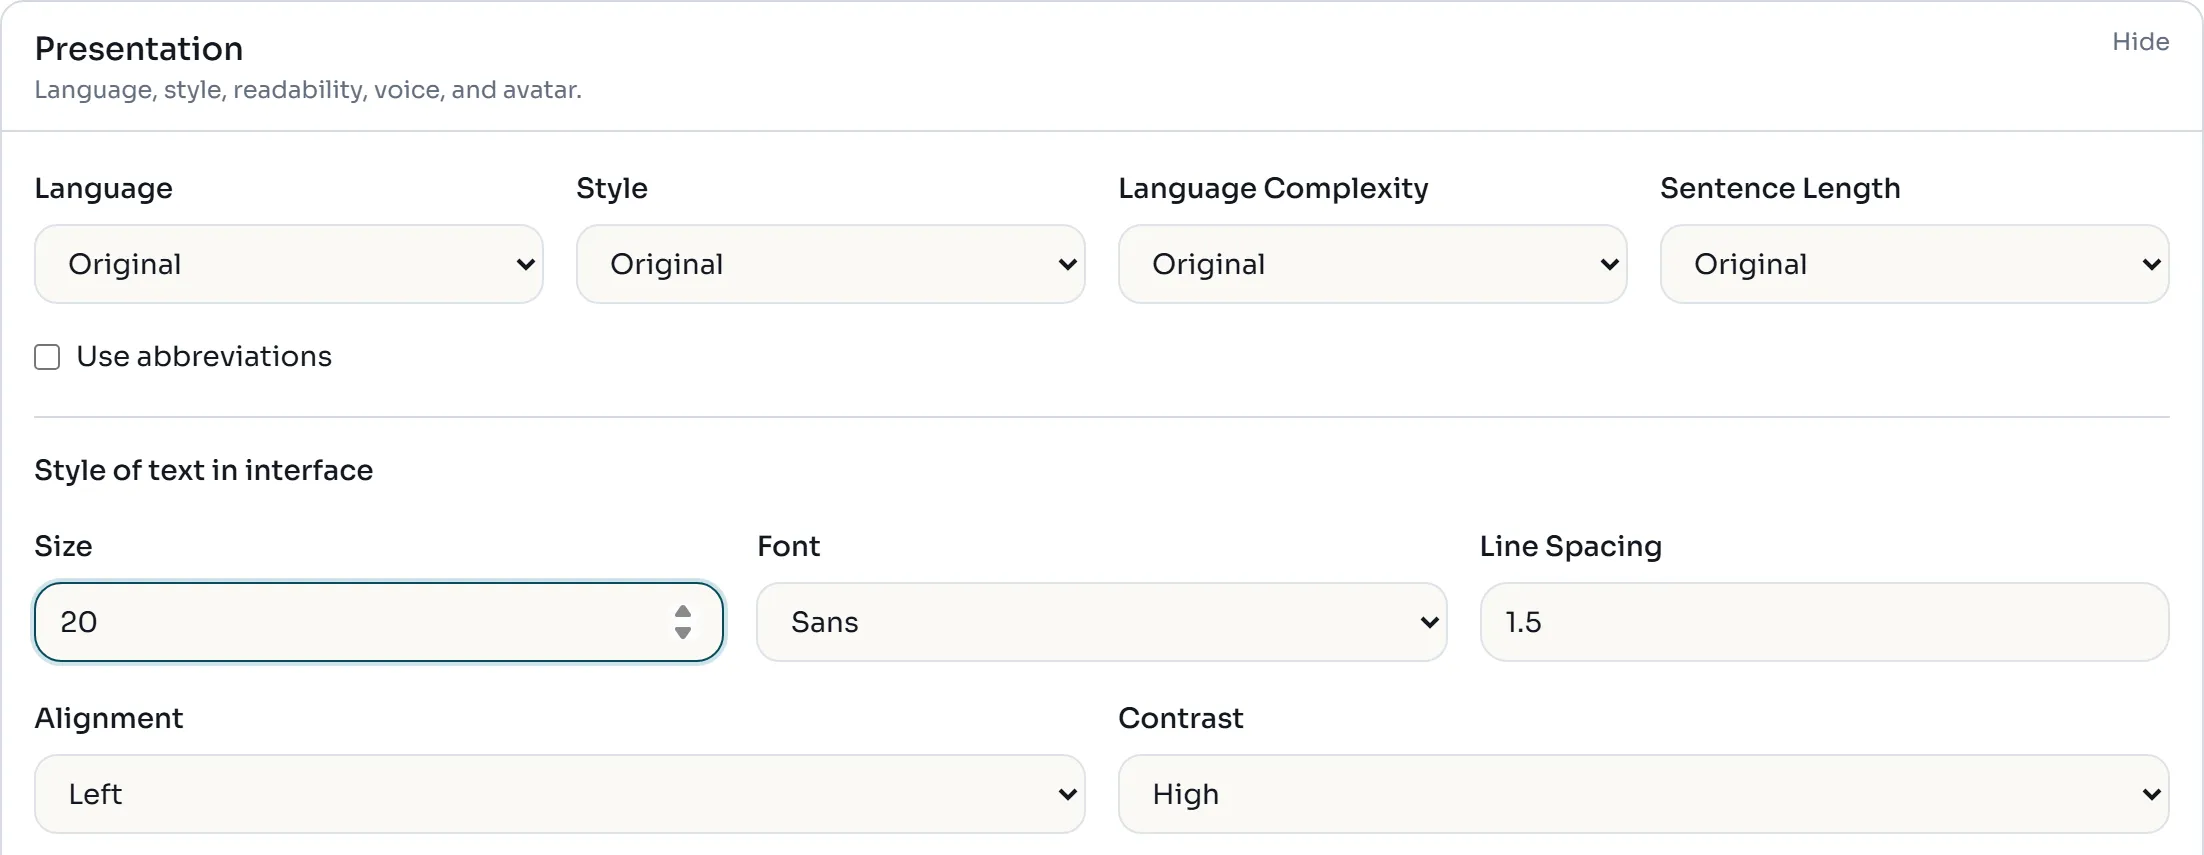
Leave the four text-rewriting lists on Original for now -
Click Modality and tick Enable speech input and Enable speech output.

Text input and output stay enabled; speech is added on top -
Scroll to Save this customization, enter
Elderlyas Customization Name and click Save & Apply Configuration.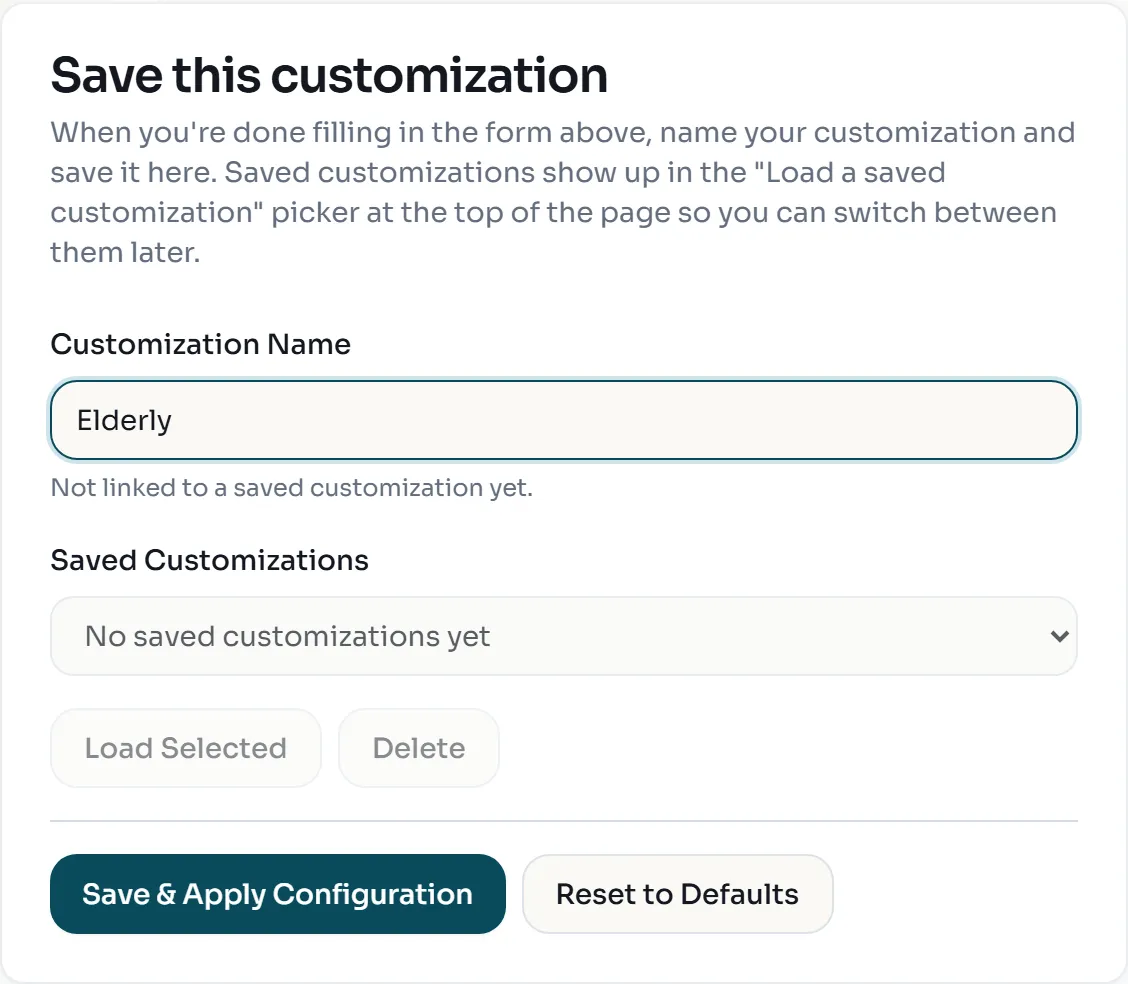
Saved customizations appear in the picker at the top of the page
Customize the agent for the Paraplegic profile
-
Open Agent Customization > Personalization again. Under User Profile Mapping, choose
Paraplegic. -
Click Content and tick Adapt content to user profile.

The profile chosen in User Profile Mapping is the one used for adaptation -
Enter
Paraplegicas Customization Name and click Save & Apply Configuration. -
Use the variant selector in the top bar to switch between
Base agent model,Elderly (Elderly)andParaplegic (Paraplegic). Each entry is a separate copy of the agent diagram; the base model stays untouched.
Generate the personalized agent
-
Select
Base agent modelin the variant selector, so the agent diagram is active. -
Open Generate > BESSER Agent.
-
In the Select Agent Languages dialog, under Personalization Strategy, choose Personalization (all) and click Generate.
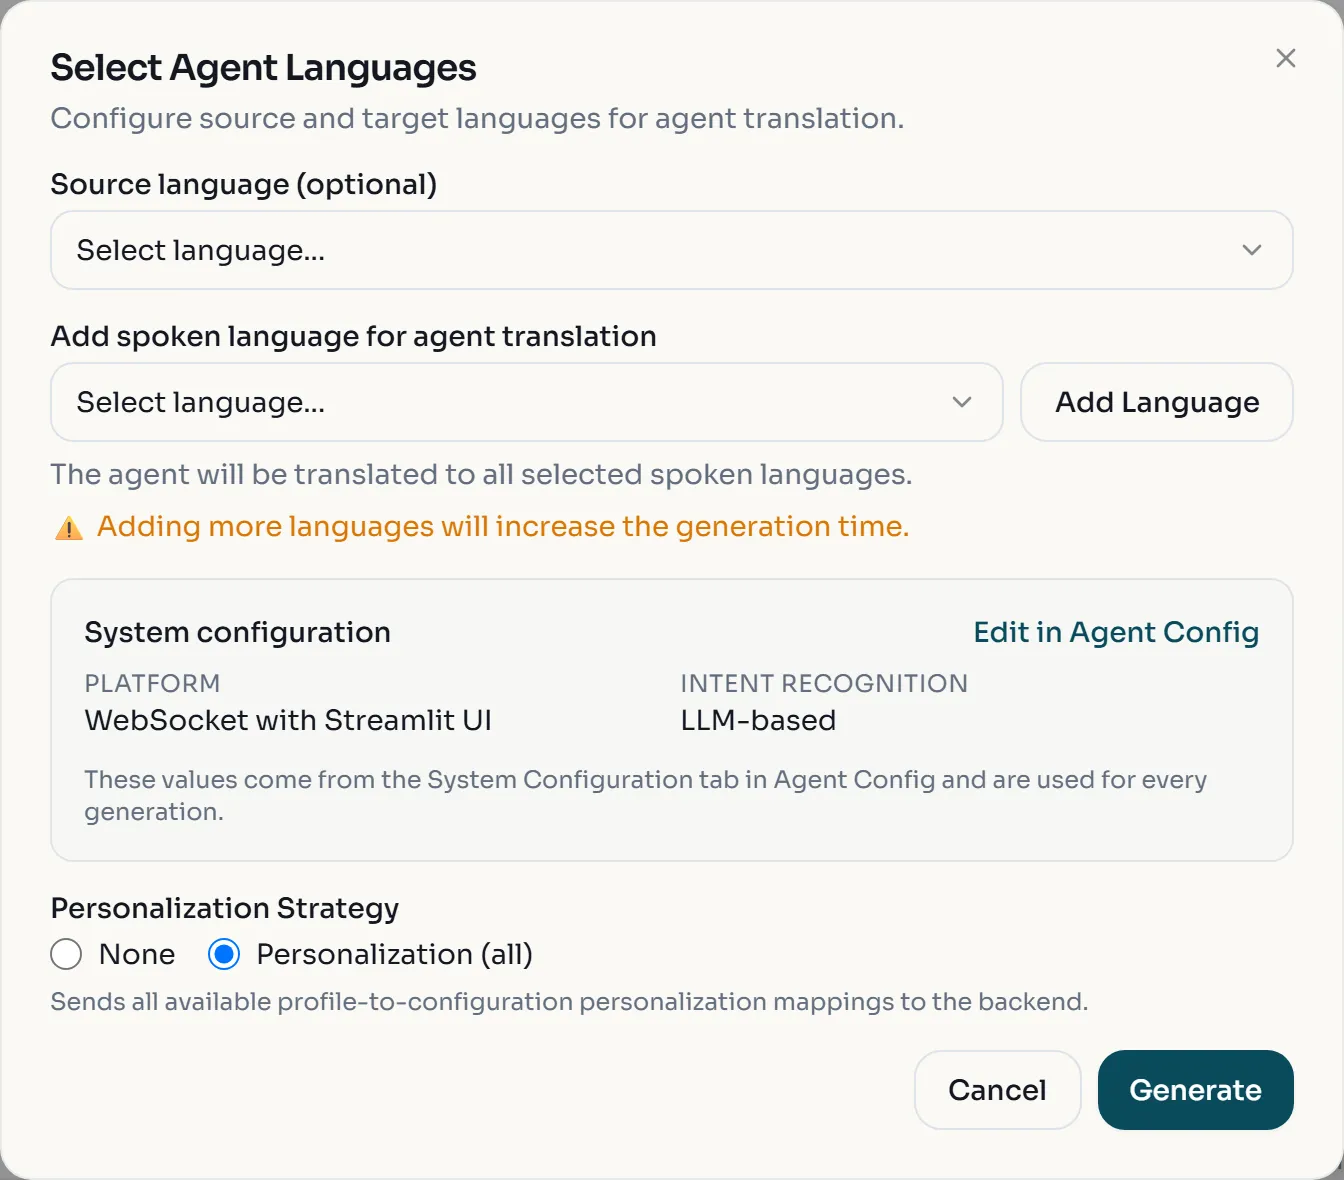
None would generate only the base agent -
Unzip the downloaded
agent_output.zip.
Run the agent with its user database
The personalized agent asks every user to log in and to pick a profile, and stores users and sessions in PostgreSQL. You run that database in Docker.
-
Install BAF if you have not yet, in a virtual environment:
pip install "besser-agentic-framework[extras,llms]"(see Build agents with the BESSER Agentic Framework). -
In a separate folder, download the Dockerfile and start the database:
docker build -t agentdb . docker run -d --name agentdb -p 5432:5432 agentdb -
Download config.yaml and use it to replace the generated
config.yamlin the unzipped agent folder. It enables themonitoringandstreamlitdatabases with the credentials of the Dockerfile. ReplaceYOUR-API-KEYwith your OpenAI key. -
From the agent folder, run:
python Gym_Agent.py -
Open http://localhost:5000. Enter any username and password and click Login: an unknown username creates a new account.
-
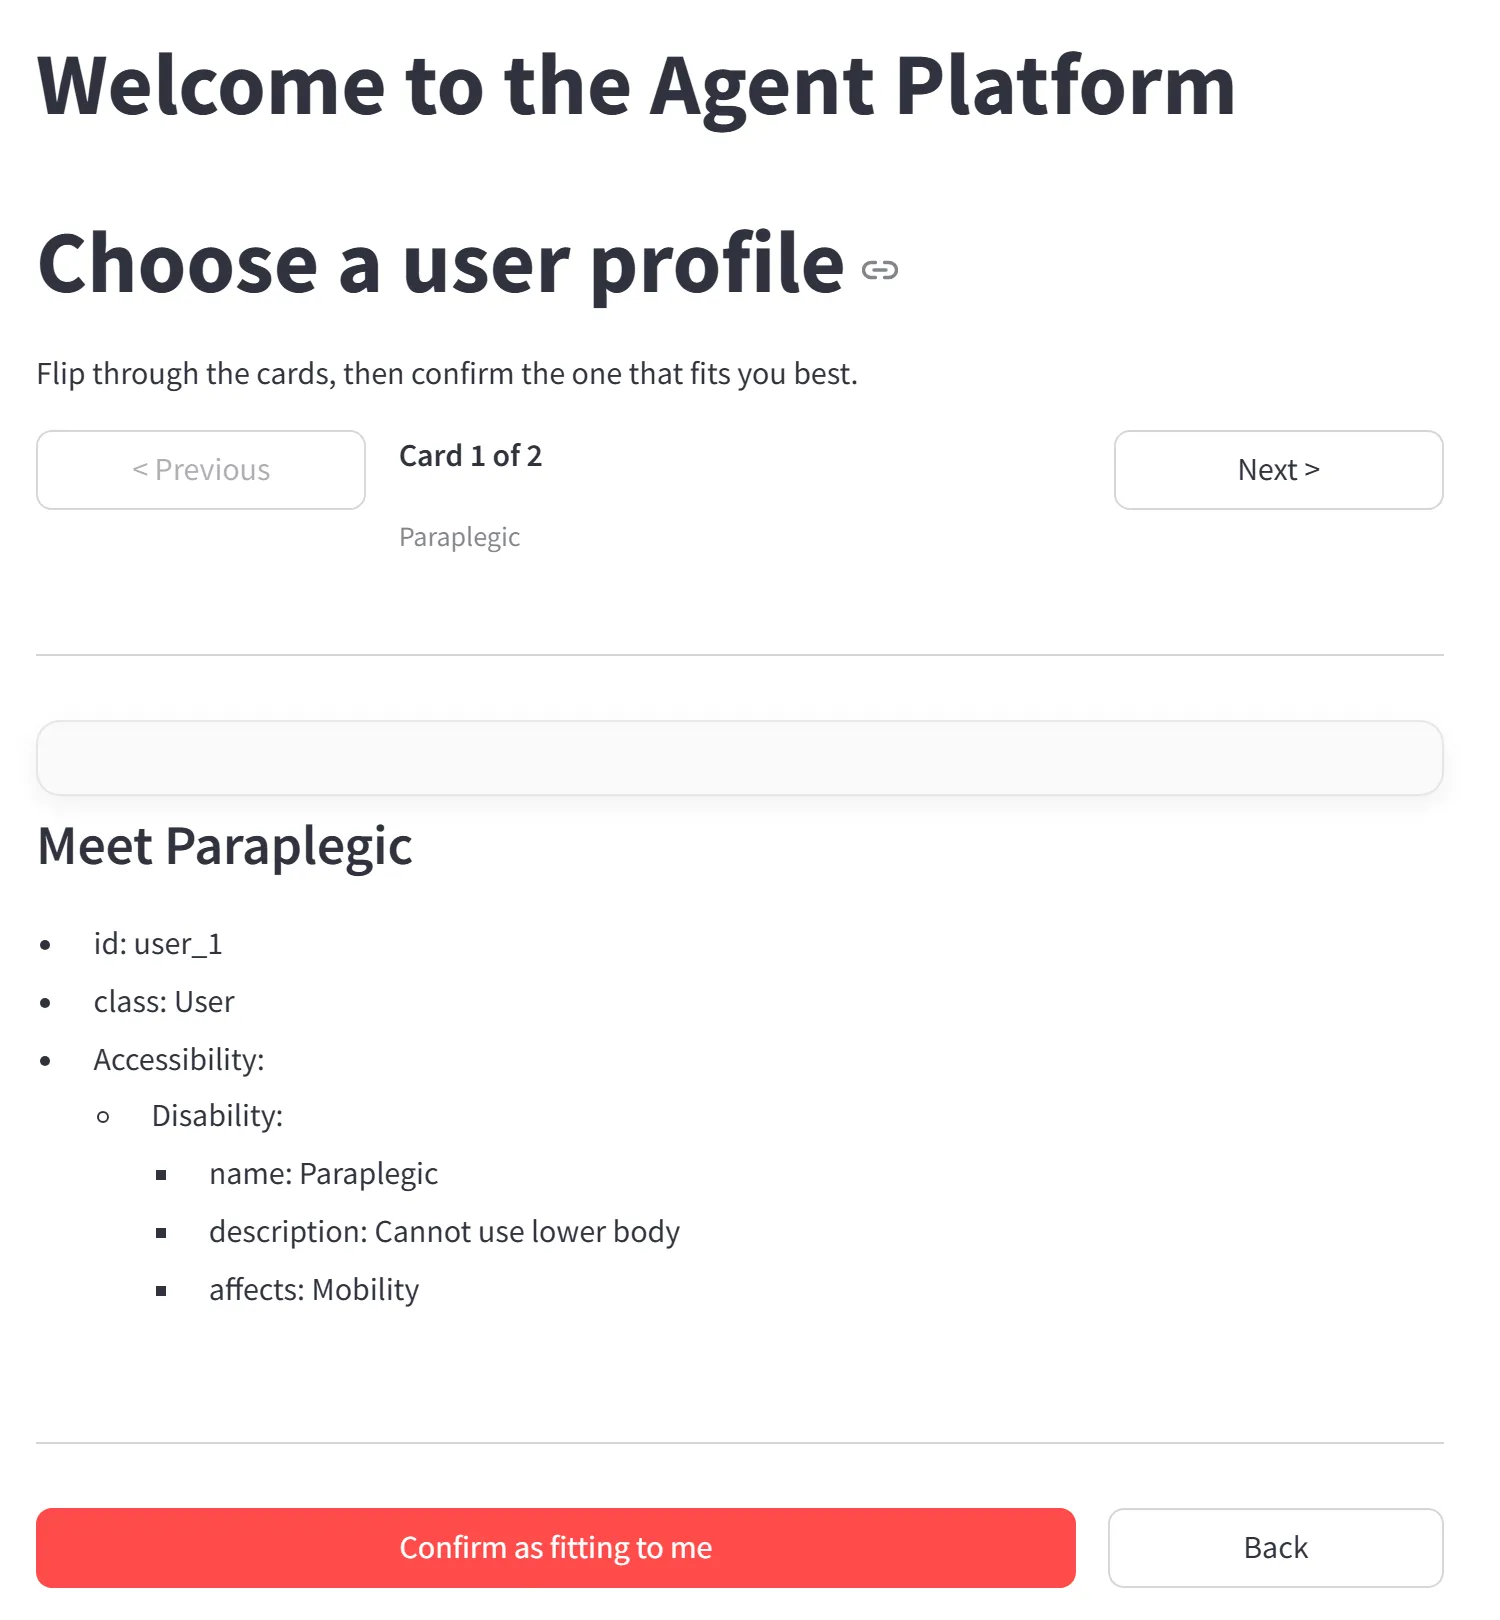
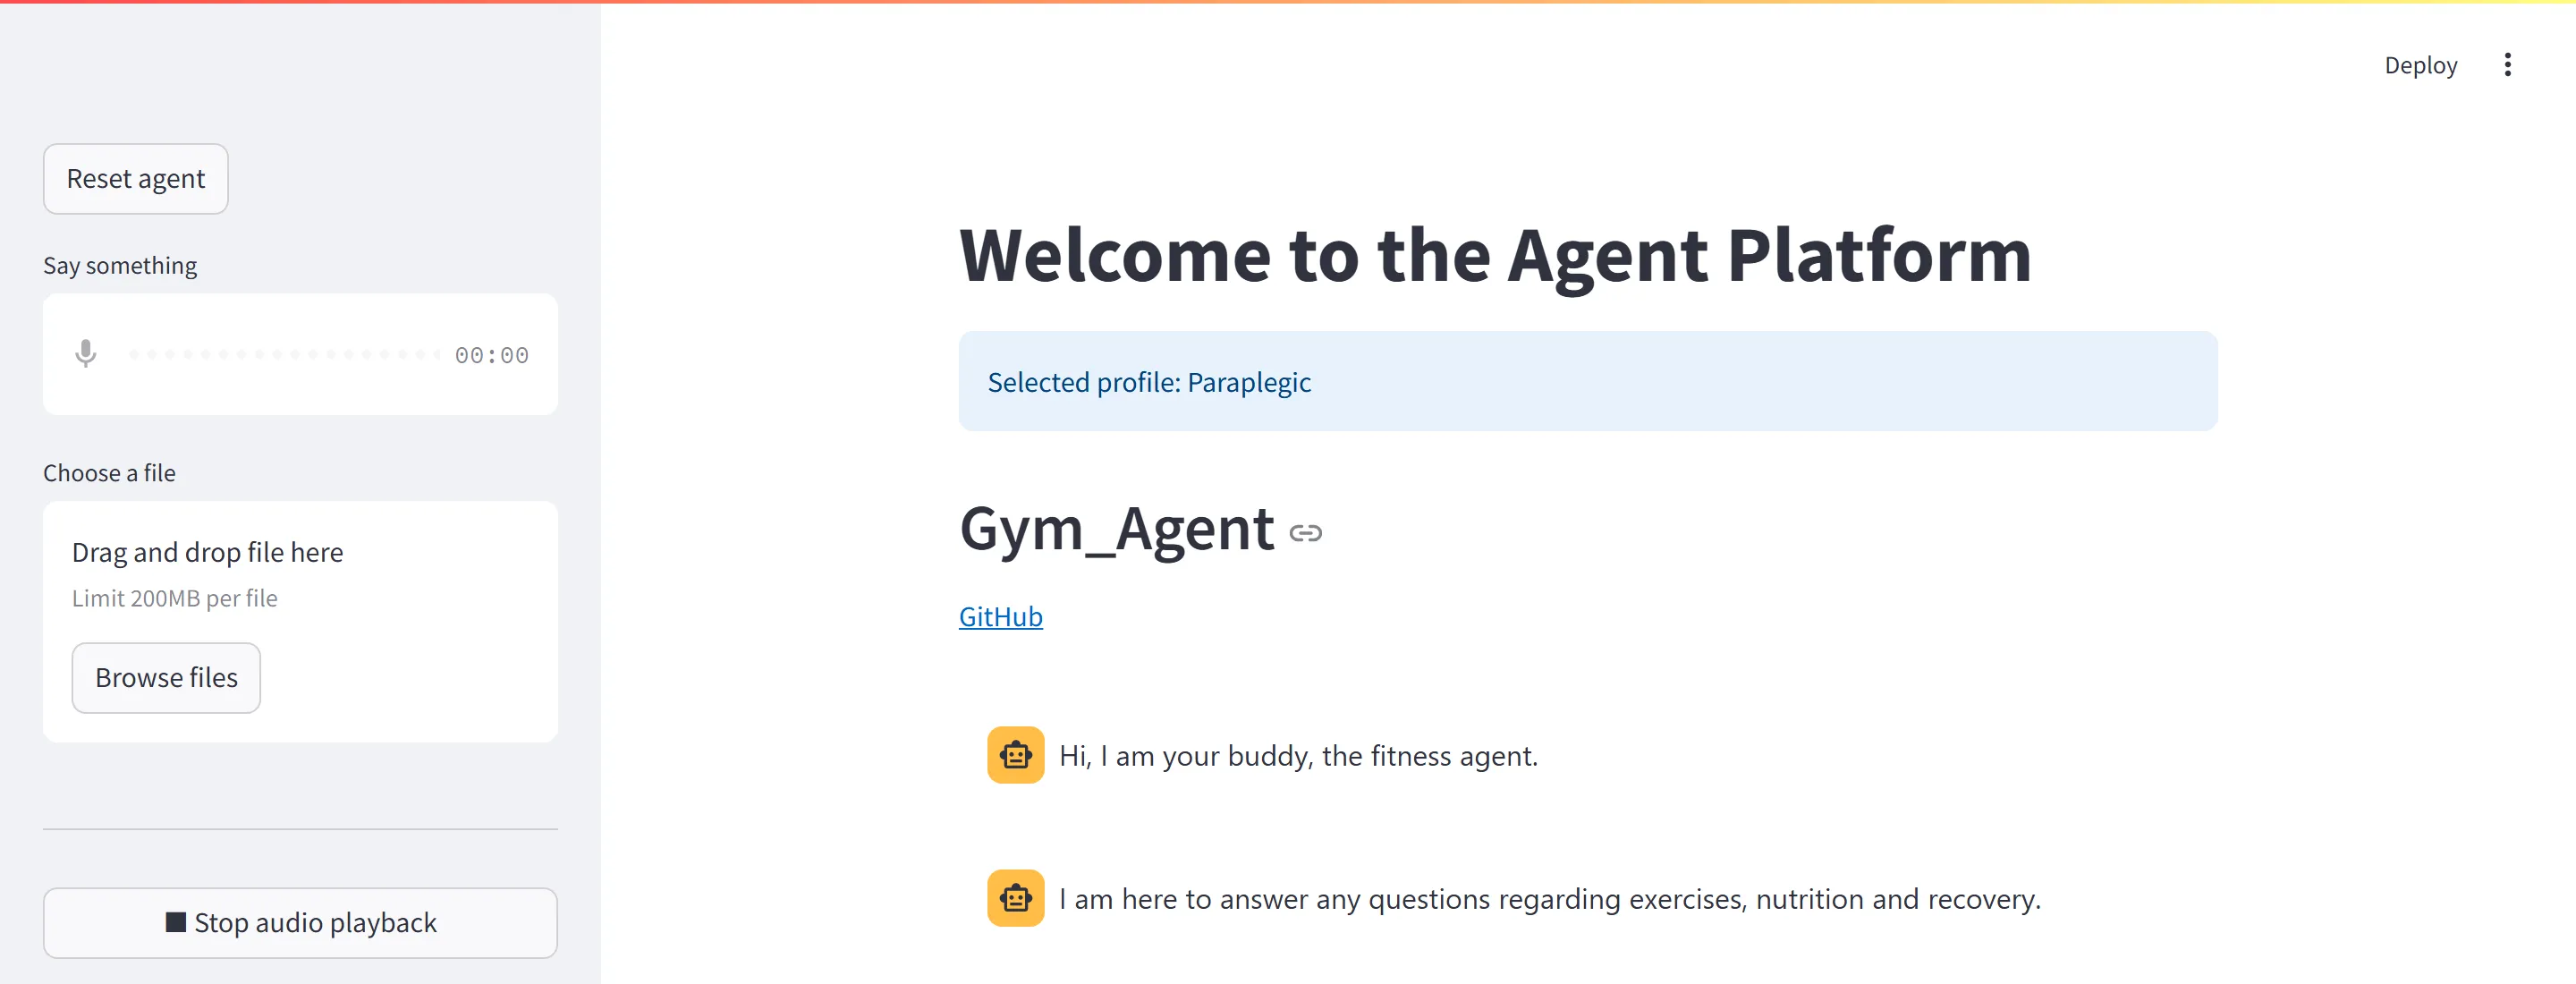
Click Choose Your User Profile, flip to the profile you want with Next >, click Confirm as fitting to me, then click Chat with Agent.
Exercise: add a third user group
Show a solution
Add a third User diagram tab with Personal Information included and age < 18, then save a customization mapped to it. For comparison, File > Load Template > Full Project > Personalized Gym Agent opens a ready-made project (as a new project) with a Teenager and a ParaplegicUser profile.
Show a solution
Edit the Base agent model: add the intent on Components > Intents, then the state and its transitions on the canvas. A variant is a snapshot taken at Save & Apply Configuration time, and the editor re-personalizes from its stored copy of the base model, which it refreshes when you switch variants. So switch to a variant and back to Base agent model, load each saved customization with Load a saved customization, apply it again, and regenerate.