
Lab 09Build agents with the BESSER Agentic Framework
You generate a database question-answering agent from the editor without code, then write a RAG and LLM agent in Python with BAF.
- Time
- 1 h 15 min
- Level
- Intermediate
- Runs with
- Browser, Python, API key
- Do first
- Lab 1
You'll learn to
- Generate a runnable BAF agent from an editor template
- Connect a generated agent to a SQLite database and an LLM
- Build a BAF state machine in Python with an LLM intent classifier
- Add RAG over uploaded PDFs and a plain LLM state
- Write a custom message processor
You'll need
- A modern browser
- Python 3.11 or 3.12 and about 2 GB of free disk space for the BAF dependencies
- An OpenAI API key with credit (every agent message costs a small amount)
- A short PDF to test with, for example a scientific paper
Files for this lab
The BESSER Agentic Framework (BAF) is a Python library for agents whose behaviour is a state machine: the agent waits in a state, a user message or event triggers a transition, and the body of the next state runs. States can reply with fixed text, or call an LLM, a database or a retrieval engine.
You use BAF in two ways in this lab. First, with no code: you load the Database Agent template in the Web Modeling Editor, connect it to the Chinook music store database, and generate a BAF project that answers questions about the data. Then, with code: you extend a starter script into an agent that indexes PDFs you upload, answers questions about them with RAG, and handles other instructions with an LLM.
The lab was checked against BAF 4.5.2, the current release on PyPI, whose Python package is baf.
Install BAF in a virtual environment
-
Create and activate a virtual environment in a new working folder:
python -m venv .venv
source .venv/bin/activate
python -m venv .venv .venv\Scripts\Activate.ps1 -
Install BAF with the
extras(RAG, vector store, data frames) andllms(OpenAI and other clients) options, plus PyMuPDF for reading PDFs:pip install "besser-agentic-framework[extras,llms]" pymupdfThis does not install PyTorch or TensorFlow. You do not need them, because every agent in this lab classifies intents with an LLM. The
[all]option in the BAF docs pulls in both and is much larger. -
Check the installation. Save this as
check_install.pyand runpython check_install.py:from importlib.metadata import version from baf.core.agent import Agent print('BAF', version('besser-agentic-framework')) print('Agent created:', Agent('test_agent').name)
Load the Database Agent template
- Open editor.besser-pearl.org, choose Start modelling, name the project
Music Store Agent, pick the Agent Developer perspective and click Create Project. - In the left sidebar, click Agent.
- Open File > Load Template, select the Agent Diagram category, select Database Agent and click Load Template.

The db_reply state has one action: a database query on the default database in LLM query mode. The LLM turns the user’s question into SQL, the agent runs it, and the LLM phrases the result as an answer.
Connect an LLM and the Chinook database
The template has no LLM and no database yet. You add both on the Components page under Agent in the sidebar.
-
Click Components, stay on LLMs and click Add LLM. Enter
gpt-4o-minias Model Name, keep Provider on OpenAI and tick Set as default LLM.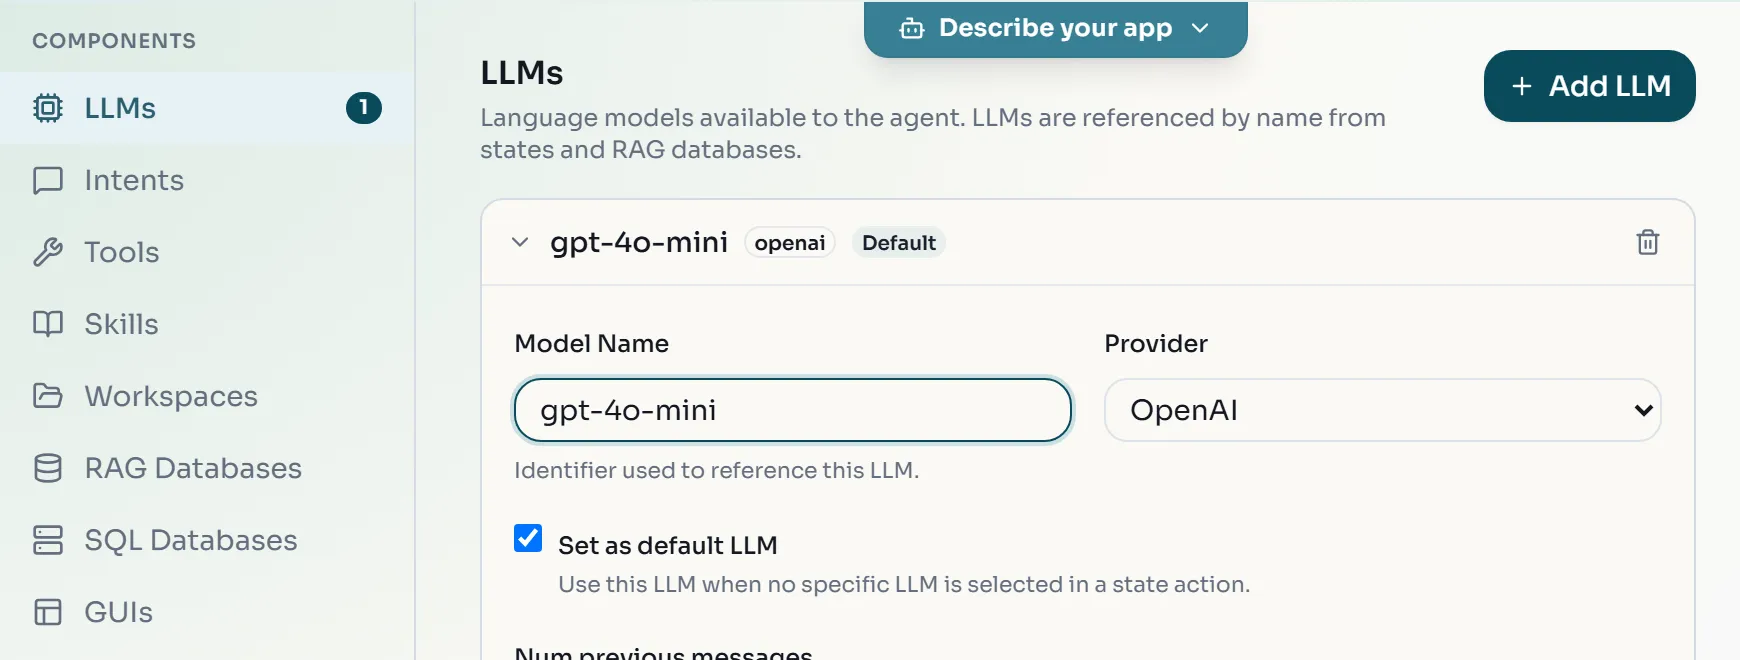
For OpenAI, the model name is the OpenAI model id -
Click SQL Databases, then Add SQL Database. Enter
db1as Name, choose SQLite as Dialect and enterChinook_Sqlite.sqliteas Database file path.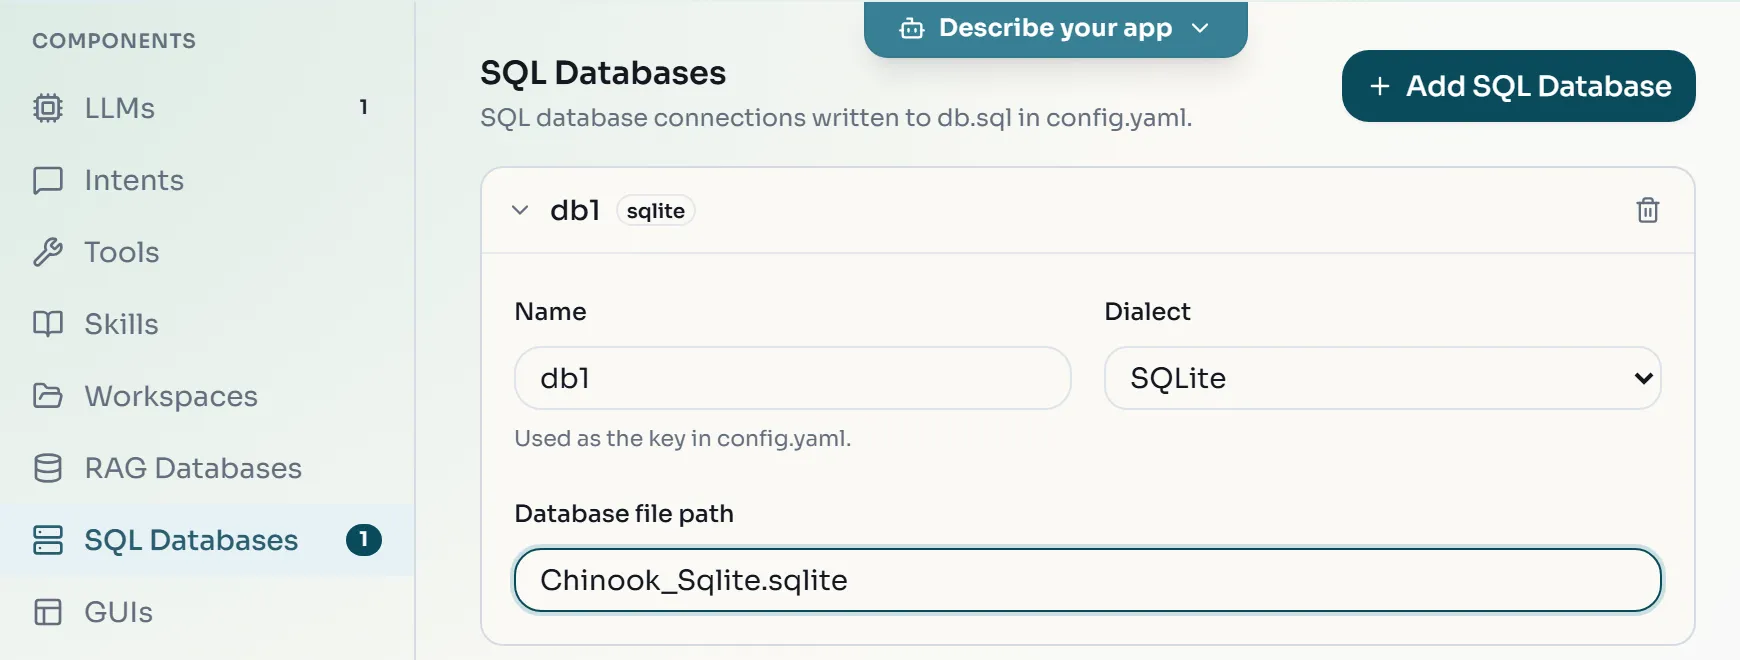
The name must be db1: the template's Default database setting resolves to db1 in the generated code -
Click Agent Customization. On the Agent Runtime tab, set Intent Recognition to LLM-based and leave LLM on (use default).
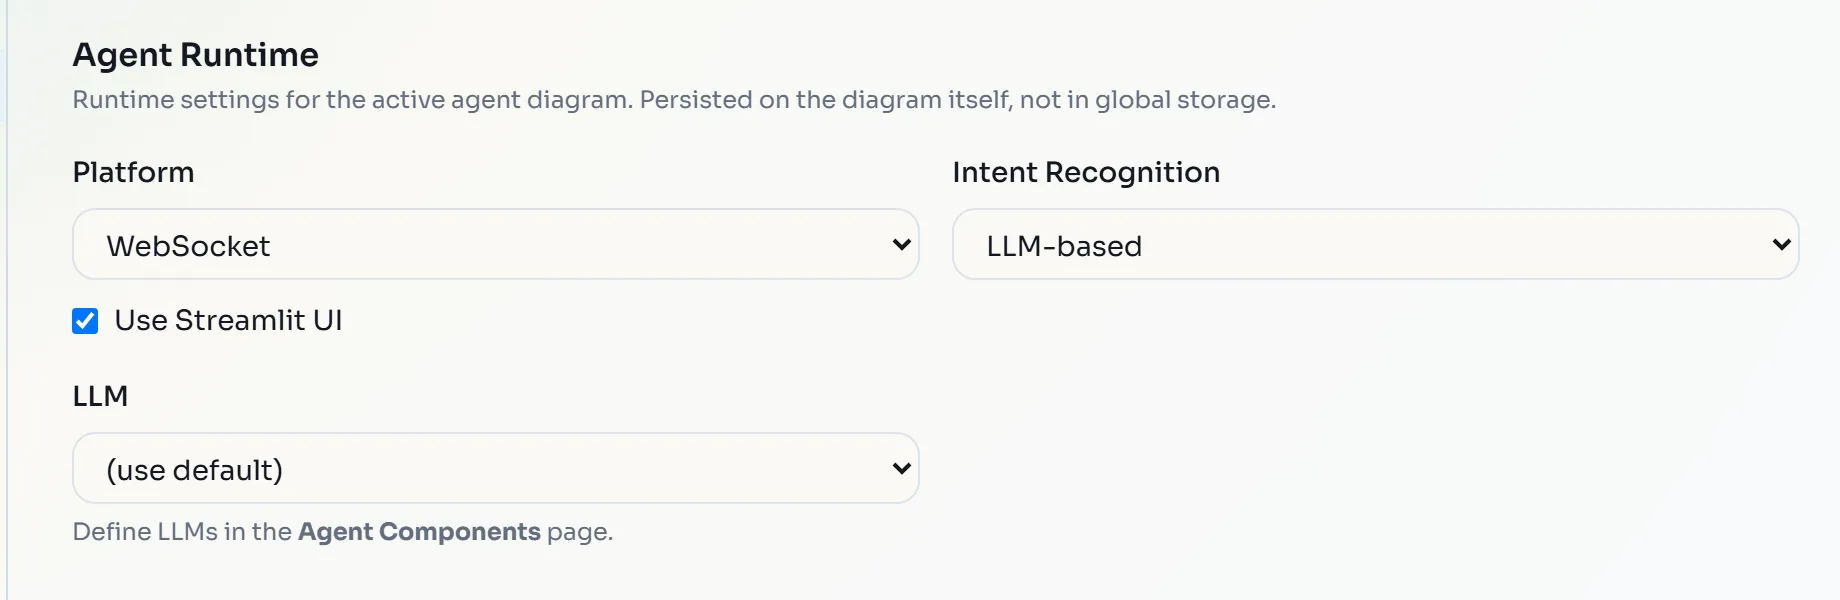
Classical intent recognition would generate a PyTorch classifier, which you did not install
Generate and run the Database Agent
-
Click Agent in the sidebar so the agent diagram is active, then open Generate > BESSER Agent.
-
In the Select Agent Languages dialog, leave both language fields empty. System configuration shows WebSocket with Streamlit UI and LLM-based. Click Generate.
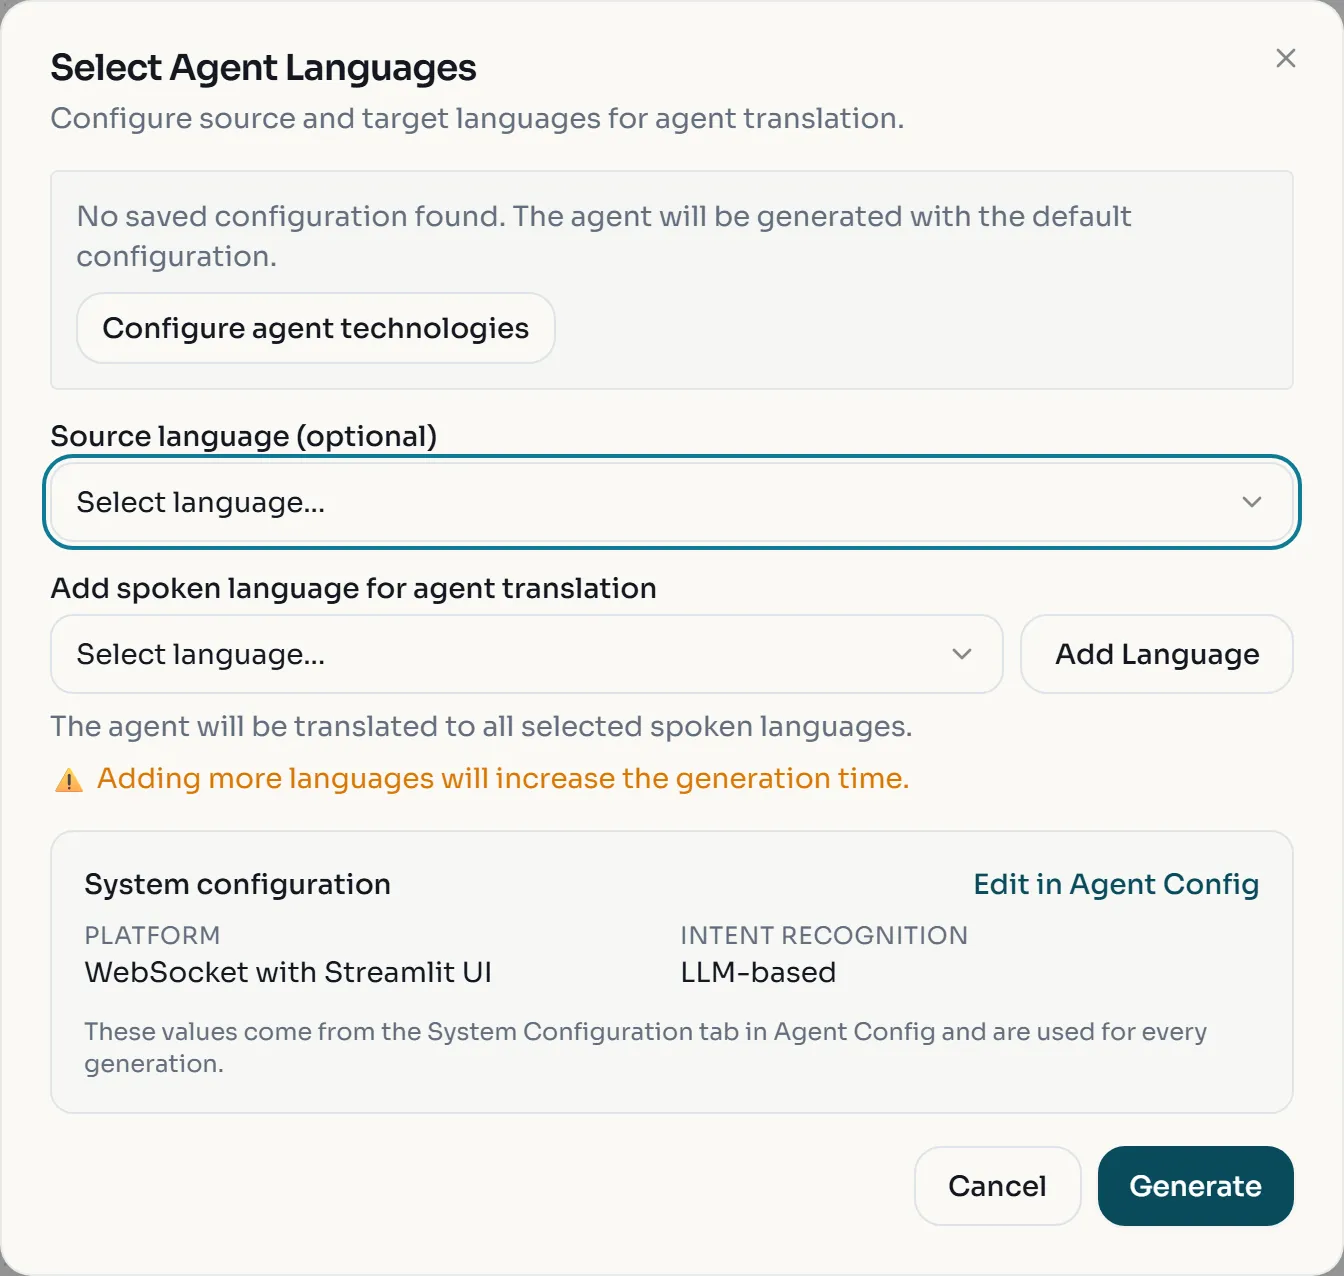
Adding a spoken language would translate the agent with an LLM during generation; you do not need that here -
Unzip the downloaded
agent_output.zipinto a folder. It containsDatabase_Agent.py,config.yaml,agent_model.py,readme.txtandBESSER_GENERATION.md. -
Download
Chinook_Sqlite.sqlitefrom the Chinook releases page (asset of release v1.4.5) into the same folder. -
Open
config.yamland make two edits:- Under
nlp:>openai:, replaceYOUR-API-KEYwith your key. - At the end, under
db:>sql:>db1:, rename the keydatabase:tofile:. BAF reads SQLite paths fromfile; the editor writesdatabase.
db:
  sql:
    - db1:
        dialect: sqlite
        file: Chinook_Sqlite.sqlite
The generated file also has
hostandportlines underdb1. SQLite ignores them, so you can leave or delete them. - Under
-
From that folder, with your virtual environment active, run the agent:
python Database_Agent.py -
Open http://localhost:5000 and ask, for example,
How many artists are in the database?.
Start the RAG agent from the starter
Now you write an agent yourself. It will have the state machine below: awaiting_state is the hub, a PDF upload goes to load_document_state, a question goes to rag_state, and any other instruction goes to llm_state. Every state returns to awaiting_state.
- In a new folder, download rag_agent.py and config.yaml.
- Put your OpenAI key in
config.yamlundernlp.openai.api_key. - Read
rag_agent.py. It already:- creates
Agent('rag_agent')and loadsconfig.yaml; - starts the WebSocket platform with
use_ui=True, which also serves a Streamlit chat page; - creates the OpenAI LLM
gpt-4o-mini; - configures an LLM intent classifier that matches messages by the intent descriptions (
use_intent_descriptions=True); - defines
initial_stateandawaiting_state, with a fallbackwhen_no_intent_matched()transition back toawaiting_state.
- creates
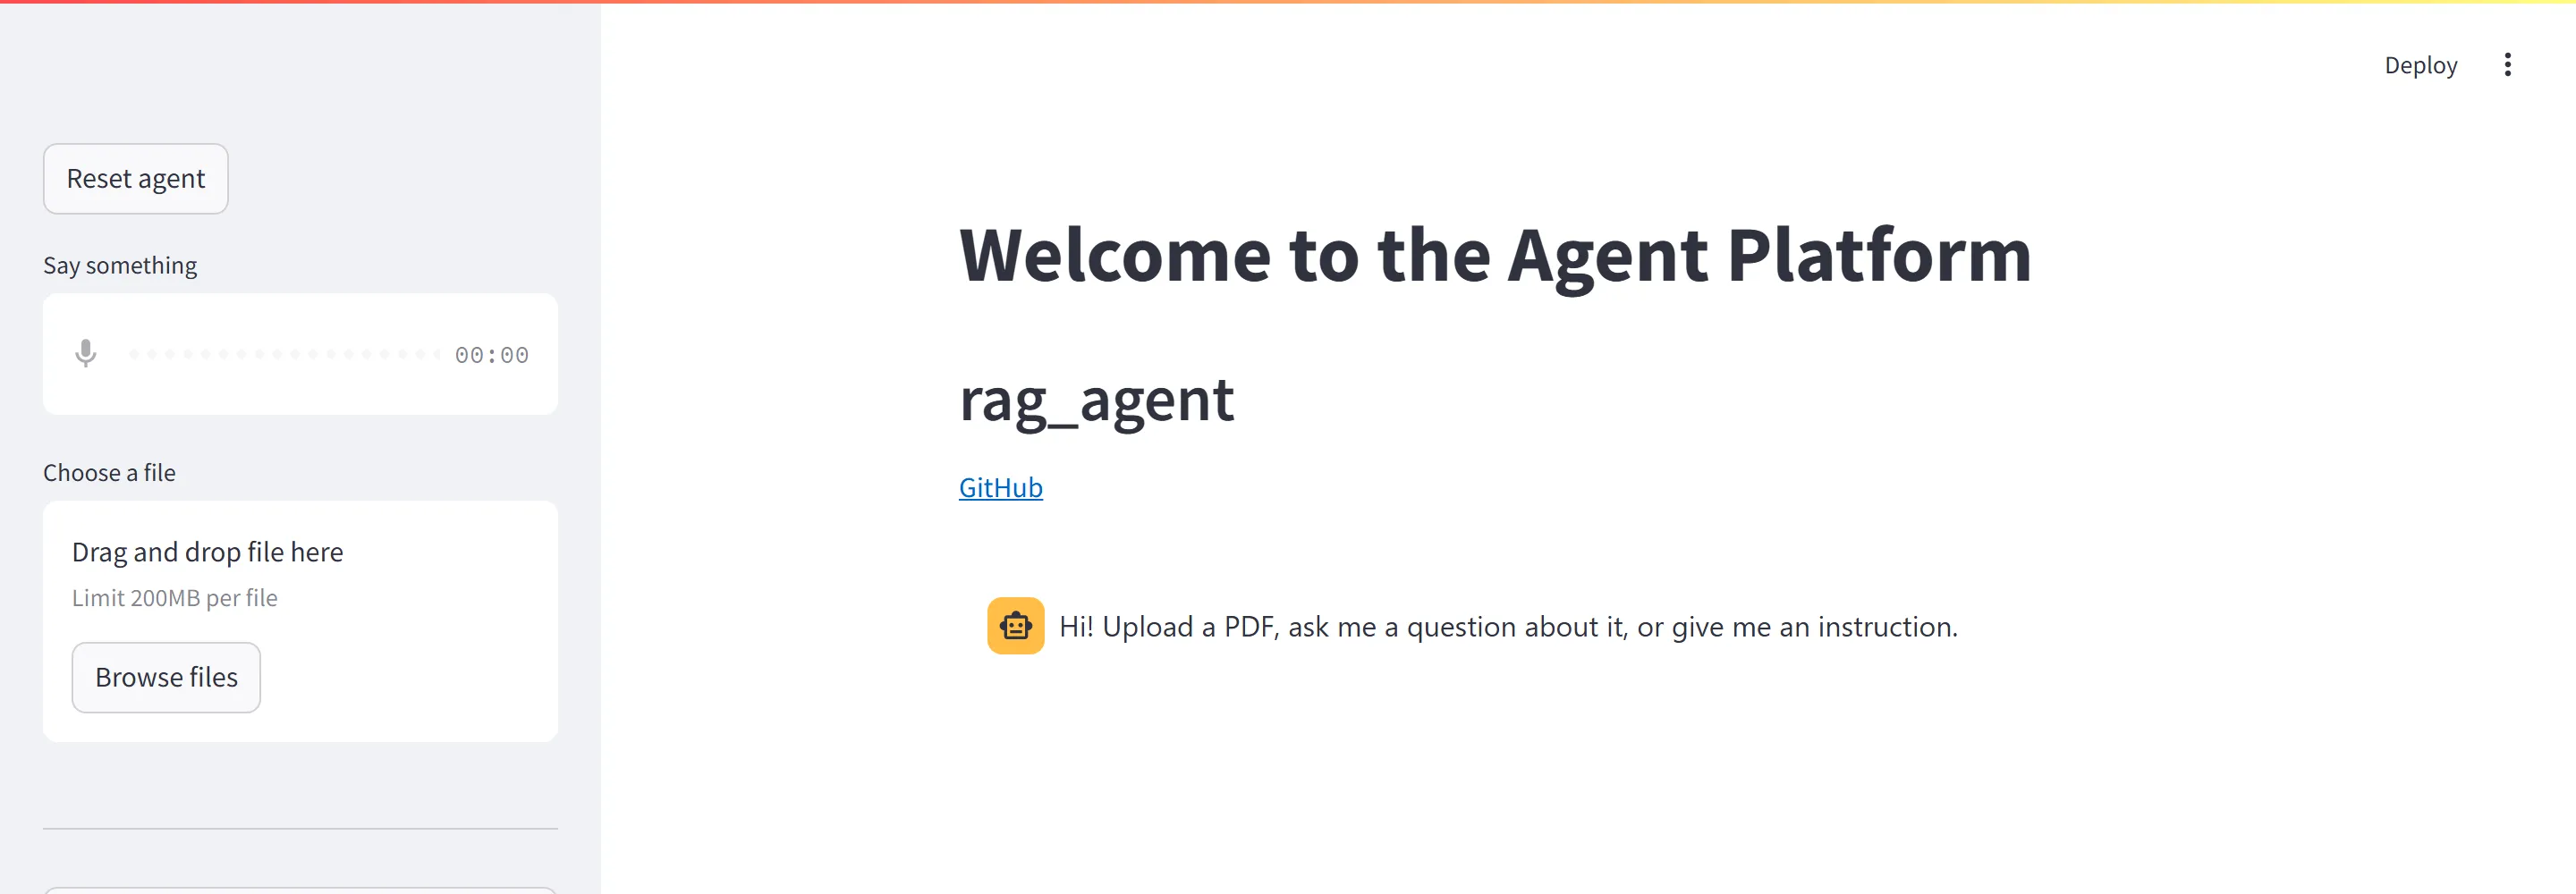
- Run it with
python rag_agent.pyand open http://localhost:5000.
Add the RAG component and PDF upload
RAG needs three parts: a text splitter that cuts documents into chunks, a vector store that keeps an embedding of each chunk, and an LLM that writes the answer from the retrieved chunks.
-
Add these imports at the top of
rag_agent.py:from baf.nlp.rag.rag import RAG, RAGMessage from langchain_community.embeddings import OpenAIEmbeddings from langchain_community.vectorstores import Chroma from langchain_text_splitters import RecursiveCharacterTextSplitter -
Replace the
# TODO: splitter, vector store and RAG go hereline with the RAG setup. The embeddings reuse the key fromconfig.yaml:embeddings = OpenAIEmbeddings(openai_api_key=agent.get_property(nlp.OPENAI_API_KEY)) vector_store = Chroma(embedding_function=embeddings, persist_directory='vector_store') splitter = RecursiveCharacterTextSplitter(chunk_size=1000, chunk_overlap=100) rag = RAG( agent=agent, vector_store=vector_store, splitter=splitter, llm_name='gpt-4o-mini', k=4, # number of chunks to retrieve num_previous_messages=0 # chat history added to the prompt ) -
Replace the
# TODO: create load_document_state, rag_state and llm_stateline:load_document_state = agent.new_state('load_document_state') rag_state = agent.new_state('rag_state') llm_state = agent.new_state('llm_state') -
Make a PDF upload move the agent from
awaiting_statetoload_document_state. Put this line just before the existingwhen_no_intent_matched()transition, then add the body of the new state.rag.add_filereads the uploaded file, splits it and stores the chunks:awaiting_state.when_file_received(allowed_types='application/pdf').go_to(load_document_state) def load_document_body(session: Session): n_chunks = rag.add_file(session.event.file) session.reply(f'Document loaded ({n_chunks} chunks).') load_document_state.set_body(load_document_body) load_document_state.go_to(awaiting_state) -
Run the agent and upload your PDF with Browse files in the chat sidebar.
Answer questions with RAG and instructions with the LLM
The LLM intent classifier decides between two intents using only their descriptions.
-
Replace the
# TODO: create question_intent and instruction_intentline:question_intent = agent.new_intent( 'question_intent', description='The message is a question, finishing with a question mark (?)' ) instruction_intent = agent.new_intent( 'instruction_intent', description='The message is an instruction. Do not consider questions as instructions.' ) -
Add the two intent transitions next to the file transition, before
when_no_intent_matched(), which now catches everything else:awaiting_state.when_intent_matched(question_intent).go_to(rag_state) awaiting_state.when_intent_matched(instruction_intent).go_to(llm_state) -
Add the bodies. The RAG state retrieves chunks and lets the WebSocket platform show the answer with its sources. The LLM state sends the message straight to the model:
def rag_body(session: Session): rag_message: RAGMessage = session.run_rag(session.event.message) websocket_platform.reply_rag(session, rag_message) rag_state.set_body(rag_body) rag_state.go_to(awaiting_state) def llm_body(session: Session): answer = gpt.predict(session.event.message) session.reply(answer) llm_state.set_body(llm_body) llm_state.go_to(awaiting_state) -
Run the agent. Ask a question about your PDF that ends with
?, then send an instruction such asWrite a haiku about state machines.
Exercise: write a custom processor
A processor transforms every user message, every agent message, or both, before the state machine or the user sees it. BAF ships a language detection processor and an LLM-based user adaptation processor in baf.core.processors.
Show a solution
Subclass baf.core.processors.processor.Processor. Call super().__init__(agent=agent, user_messages=True) and implement process(self, session, message) -> str, returning the rewritten message. Creating the processor object is enough to register it with the agent. A dictionary lookup over the words of the message is enough for the slang case; store results with session.set('sentiment', ...) for the sentiment case.
Show a solution
Convert the result to a pandas DataFrame: a list of dicts becomes one row per dict, a single dict becomes one row, and a single value becomes a one-cell frame. Send it with platform.reply_dataframe(session, df) instead of the second LLM call. Keep the first call with llm=default_llm, which turns the question into SQL.