

Lab 04Model by conversation with the Modeling Assistant
A clinic appointment model with a class diagram, an OCL constraint and a state machine, built and checked entirely through the Modeling Assistant chat.
- Time
- 35 min
- Level
- Beginner
- Runs with
- Browser
- Do first
- Lab 1
You'll learn to
- Start a project in the Describe it (agentic) interface
- Create a class diagram from a plain-language description
- Refine a model with follow-up prompts and undo an assistant edit with Ctrl+Z
- Verify what the assistant changed on the canvas and with Quality Check
- Add a state machine and trigger a code generator from the chat
You'll need
- A modern desktop browser (Chrome, Edge or Firefox)
- Lab 1 (Your first class diagram) or equivalent familiarity with the editor canvas
In Lab 1 you drew every class and association by hand. The Web Modeling Editor also has an agentic interface: you describe what you want in plain words, and the Modeling Assistant creates and edits the diagrams on the live canvas. The diagrams it produces are ordinary B-UML models, so everything you learned on the canvas still applies, and you can switch between chatting and drawing at any time.
In this lab you model a small clinic: patients book appointments with doctors. You build the class diagram by conversation, refine it, add a rule, add a state machine for the appointment lifecycle, and generate a PostgreSQL schema, all from the chat. Throughout, you check the result yourself instead of trusting the reply.
Start a project in Describe it mode
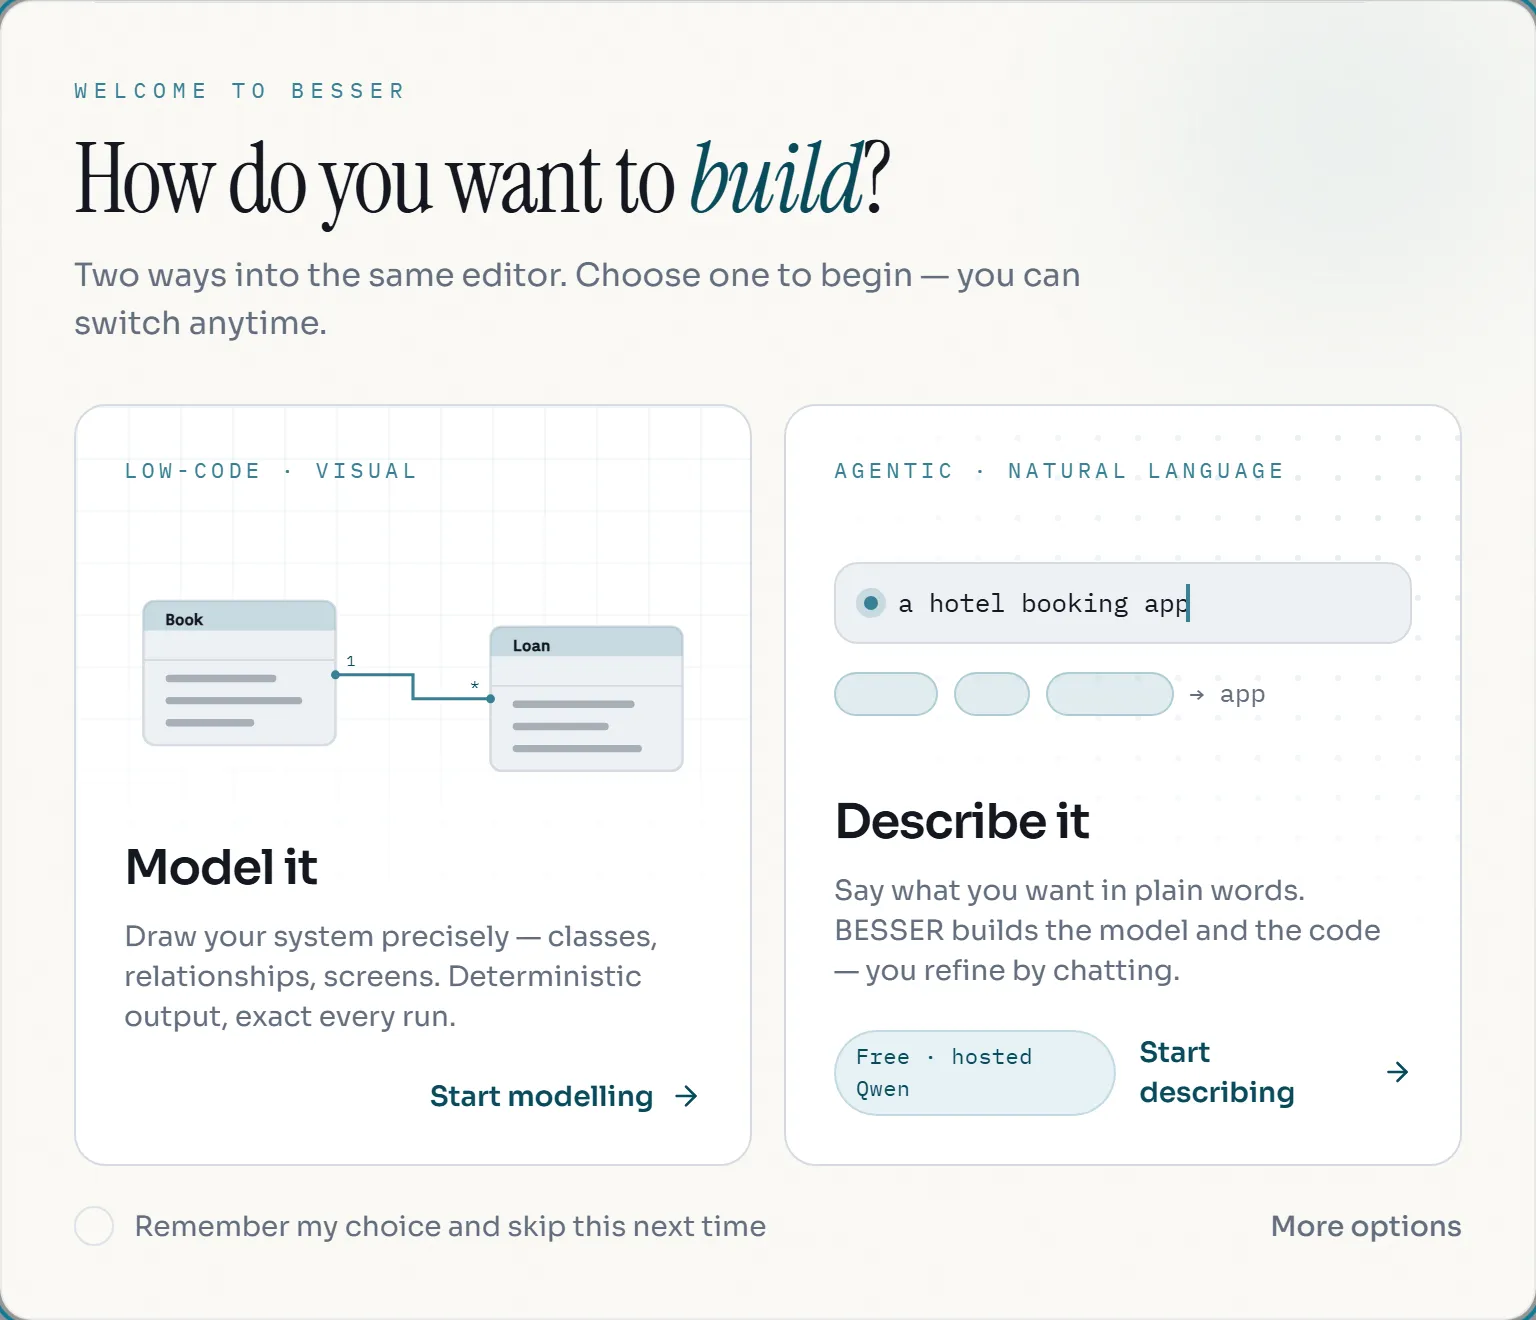
- Open https://editor.besser-pearl.org. On a first visit the editor asks how you want to build.
- On the Describe it card, click Start describing.
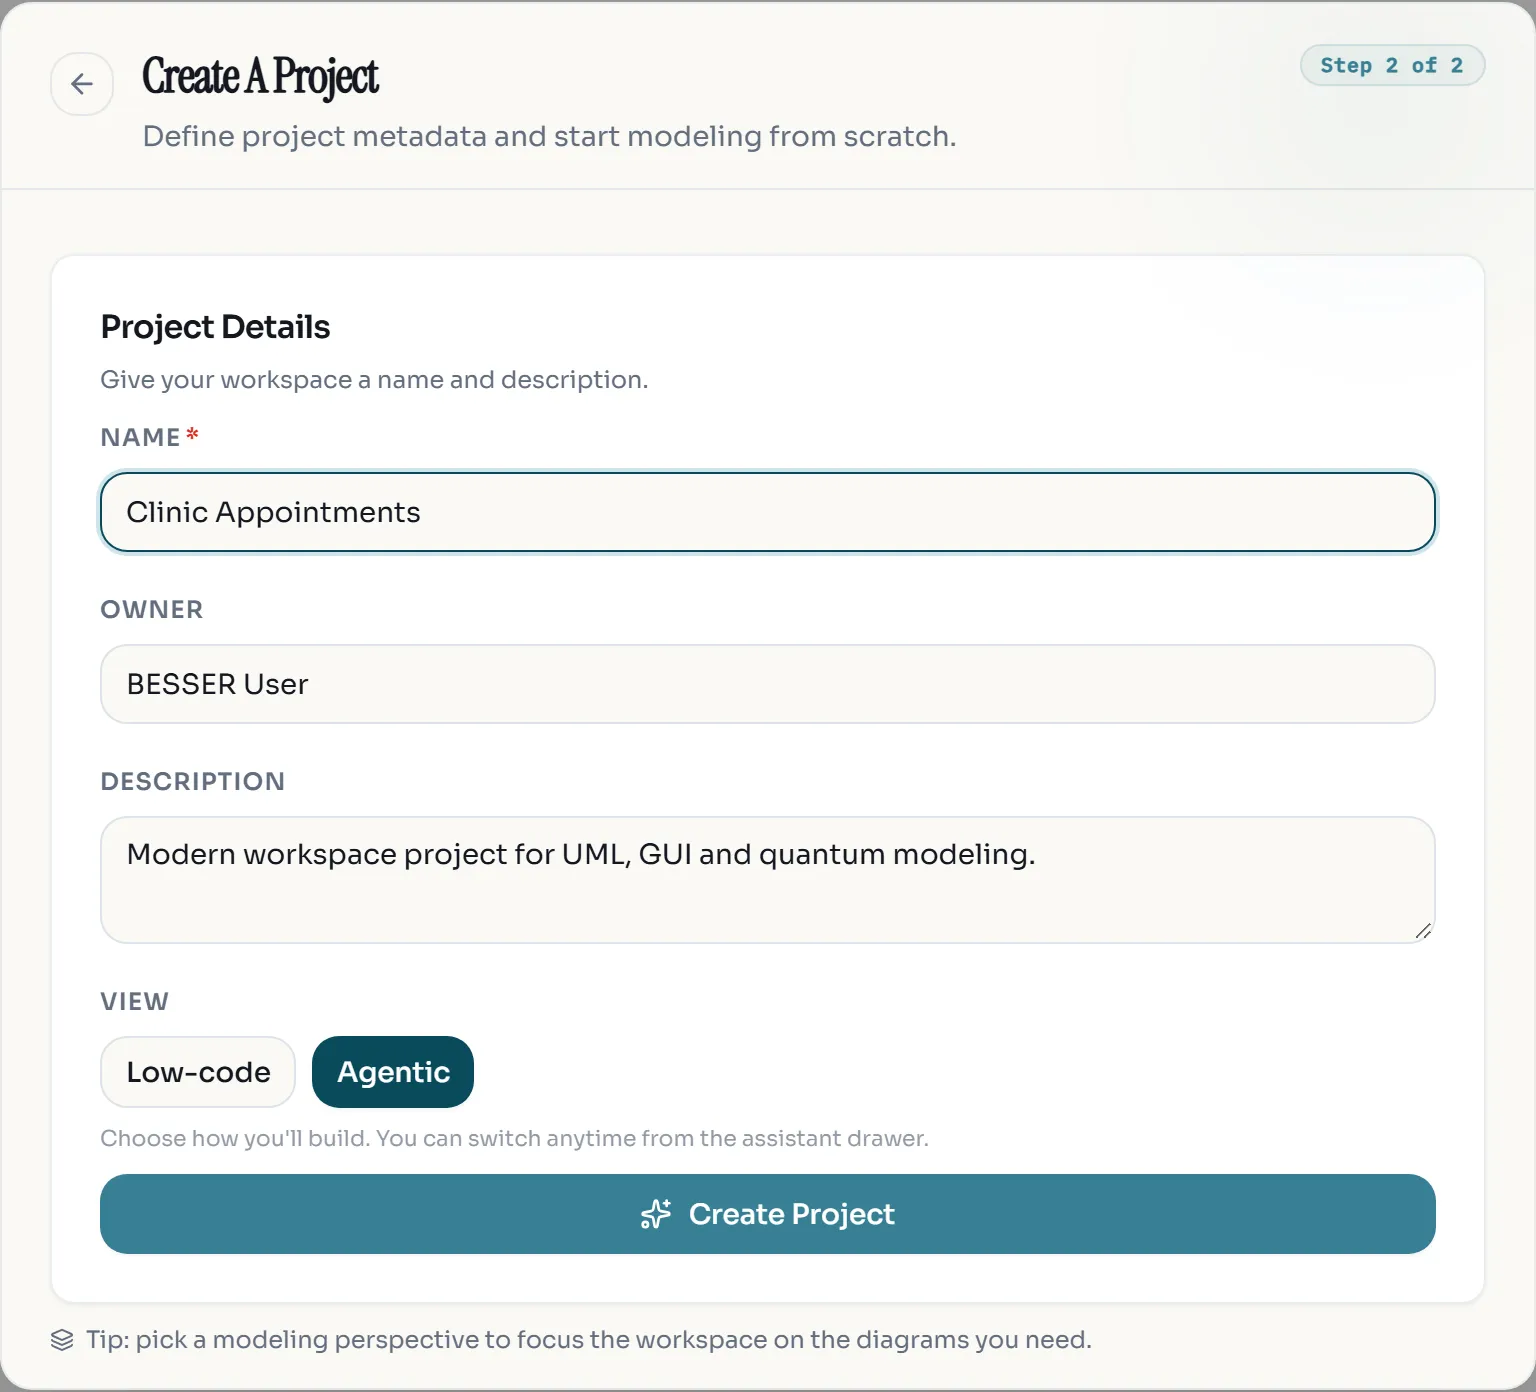
- The Create A Project form opens with Agentic already selected under View. Enter the name
Clinic Appointmentsand click Create Project. The editor stores it asClinic_Appointments.
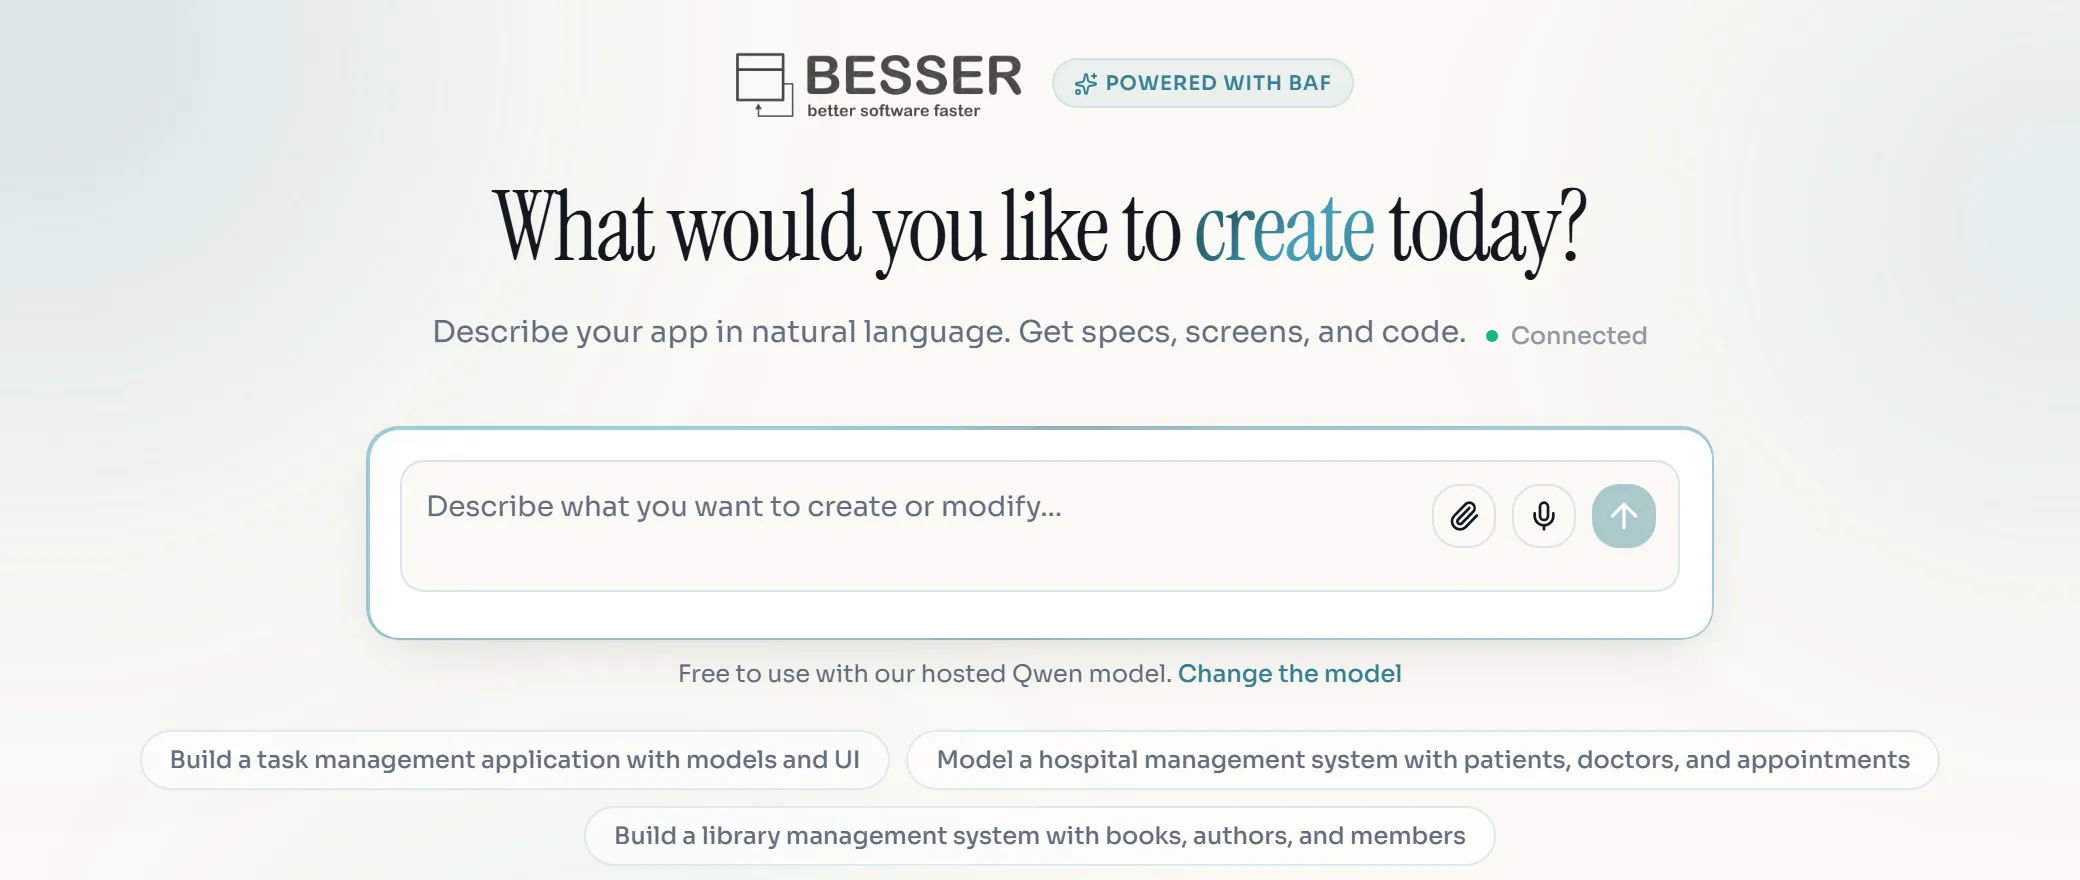
- The assistant workspace fills the screen with the question “What would you like to create today?” and a composer that reads “Describe what you want to create or modify…”. Next to the subtitle a dot shows the connection state.
Describe the clinic and let the assistant build the class diagram
- Click into the composer, type the following prompt exactly, and press Enter:
Create a class diagram for a clinic appointment system with the classes Patient, Doctor and Appointment. A patient can book many appointments, and each appointment is with exactly one doctor. Give each class a few attributes.- Wait for the reply. It usually arrives within half a minute. The assistant marks it with a badge such as System created and offers quick-action chips under it, for example Generate application, Explain the specs and Review the model.
Switch to the canvas and verify what the assistant built
The assistant edits the model you see on the canvas. Look at the canvas after every change.
- Click the Review the model chip. It does not send a message; it closes the assistant workspace so you see the canvas. You can also click the See the Specs tab at the bottom of the workspace, or press Esc.
- The Class editor shows the new diagram. Check:
- There are three classes:
Patient,DoctorandAppointment, each with several typed attributes. - There is an association between
PatientandAppointmentwith a many end (*or0..*) on the Appointment side. - There is an association between
AppointmentandDoctorwith multiplicity1on the Doctor side.
- There are three classes:
- Double-click an association to open its properties and read the exact multiplicities, as you did in Lab 1.
- To return to the chat, click the Describe your app tab at the top of the canvas. The conversation is still there. In the low-code view the same assistant is also available from the round assistant button in the bottom-right corner (Open assistant); both share one conversation.
- In the workspace’s bottom bar, click Your model. It opens a recap of the data model and its relationships, derived from the project. Click it again to close it.
Refine the model with follow-up prompts
Small, specific prompts work best. Name the class and the attribute, and say what must stay unchanged.
- Send:
Add an integer attribute named duration_minutes to the Appointment class.- Send:
Rename the Doctor class to Physician.- Close the workspace and check both edits on the canvas:
Appointmenthas+ duration_minutes: int, and the class formerly calledDoctoris nowPhysician, still connected toAppointment. - Undo the rename. Click an empty spot on the canvas so it has focus, then press Ctrl+Z (Cmd+Z on macOS). Assistant edits go through the editor’s normal undo stack. Check that the class is called
Doctoragain. If you pressed it once too often andduration_minutesdisappeared as well, press Ctrl+Y or ask the assistant to add it again. - Open the chat again and add a rule. The assistant only writes OCL when you ask for a constraint explicitly:
Add a constraint that the duration_minutes of an Appointment must be greater than 0.- On the canvas, an OCL constraint box is attached to
Appointment. Double-click it and read the expression. It should be equivalent tocontext Appointment inv: self.duration_minutes > 0; the constraint name and exact formatting may differ.
Ask the assistant to explain the model
The assistant can describe the current model in words. This is a quick way to spot a misunderstanding, but it is a summary, not a check.
- Send:
Describe my current model.- Compare the description with the canvas. It should mention the three classes, the two relationships and the new constraint. If the description and the canvas disagree, the canvas is the truth: the description is generated text, the canvas is the model that generators read.
- The Explain the specs chip (shown after a model is created) sends a similar request for a plain-language overview.
Add a state machine by chat
The assistant can add a diagram of another type to the same project. Here you model the lifecycle of an appointment.
- Send:
Create a state machine for the appointment lifecycle with the states Requested, Confirmed, Completed and Cancelled.- The assistant adds a state machine diagram and switches the canvas to it. Close the workspace and look at the State editor in the left sidebar.
- Check that the four states exist, that there is an initial state, and that the transitions make sense (for example Requested to Confirmed, Confirmed to Completed, and transitions to Cancelled). Transition names are chosen by the assistant and vary.
- If a state is missing, ask for it by name, for example
Add a NoShow state to the state machine, reachable from Confirmed.
Validate the model and generate code from the chat
- Click Class in the left sidebar so the class diagram is active.
- Click Quality Check (the check-mark button in the top bar). Resolve any reported errors before you generate. A valid diagram shows “Diagram is valid”. Quality Check validates the model; it says nothing about generated code.
- Open the chat again and send:
Generate SQL schema for PostgreSQL- The assistant runs the same SQL DDL generator as Generate > Database > SQL DDL, with the PostgreSQL dialect taken from your sentence, and your browser downloads the result. The deterministic generators need no API key and give the same output for the same model.
- Open the downloaded file in a text editor. Check that it contains a
CREATE TABLEstatement for each class and a foreign key from the appointment table to the doctor table.
Exercise: extend the clinic by conversation
Show a solution
Two short prompts work better than one long one: first create the class and its association, then add the constraint. On the canvas, check that the association end on the Prescription side is many and on the Appointment side is 1. A constraint such as context Prescription inv: self.dosage <> '' is one valid form.
Show a solution
Layout is not part of the B-UML export, so any difference you find in the files is a modeling decision. Typical differences are attribute types (str versus date for a date), an extra identifier attribute, and the role names on association ends.