

Lab 07Build a full web app from three models
A Library web application with tables, a bar chart and a chatbot, generated from a class diagram, a GUI model and an agent model, and running locally with Docker Compose.
- Time
- 1 h 15 min
- Level
- Intermediate
- Runs with
- Browser, Docker
- Do first
- Lab 1
You'll learn to
- Combine a class diagram, an agent diagram and a GUI model in one project
- Generate a GUI from a class diagram and extend it with a chart and a chatbot widget
- Generate the full web application and run it with Docker Compose
- Fill the database through the generated REST API and see the data in the frontend
You'll need
- A modern browser
- Docker Desktop (or Docker Engine with the Compose plugin), running
- About 5 GB of free disk space for the three images
- A tool to unzip files
Files for this lab
A web application needs at least three things: the data it manages, the screens people use, and often an
assistant that answers questions. In BESSER each of these is a separate model in the same project: a class
diagram, a GUI model and an agent diagram. The Web Application generator reads all three and produces a
FastAPI backend, a React frontend, one service per agent and a docker-compose.yml that starts everything.
In this lab you build a small Library application. You reuse two templates so the result is predictable, design the screens in the no-code GUI editor, generate the code, run it with Docker and fill it with data.
Create a Full Web Application project
- Open editor.besser-pearl.org and open File > New Project (on a first visit, click Start modelling on the Model it card).
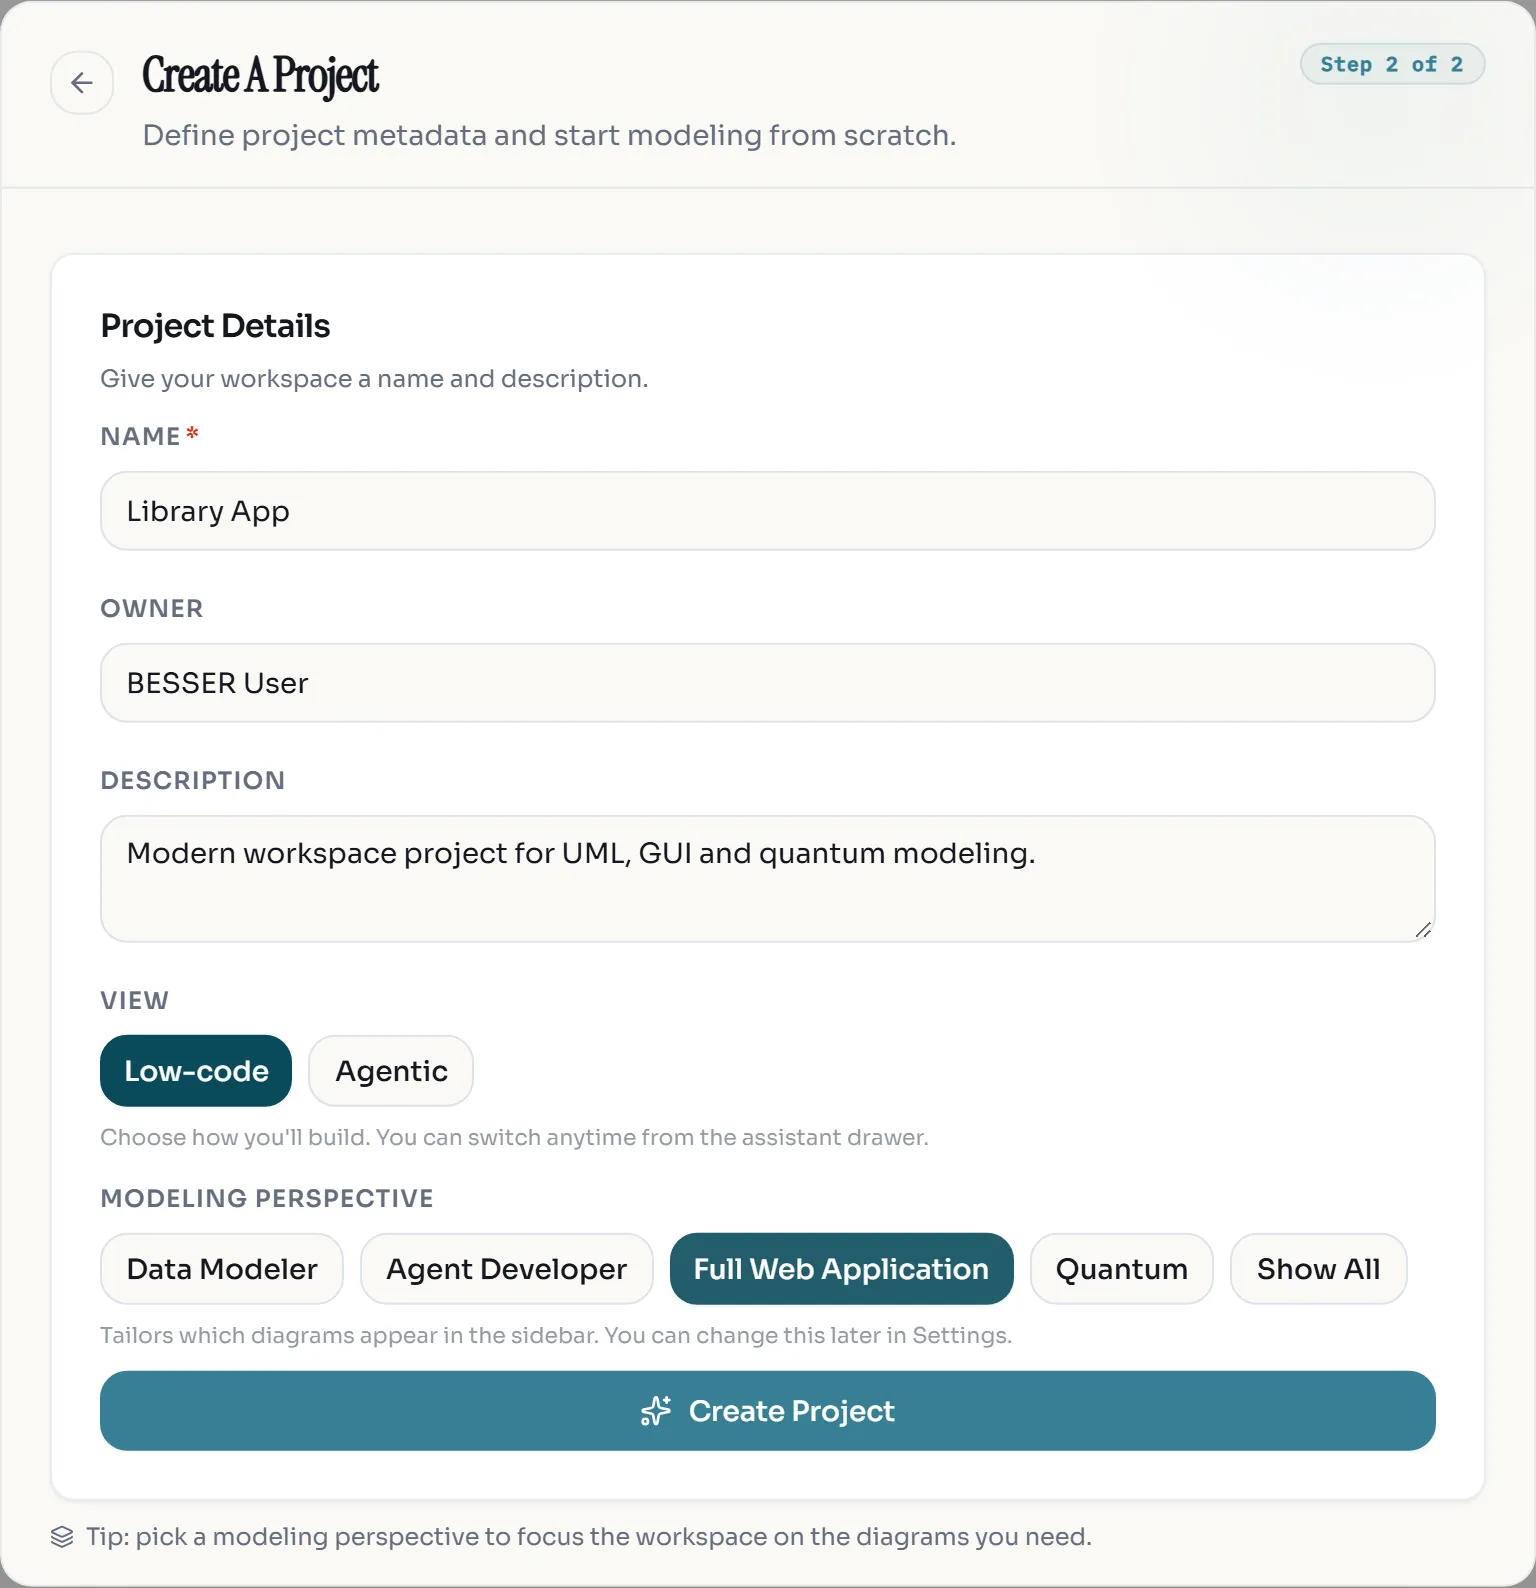
- Name the project
Library App, keep Low-code, and choose the modeling perspective Full Web Application. Click Create Project.
- Load the data model: File > Load Template, category Class Diagram, template Library, then Load Template. Click Quality Check; it reports “Diagram is valid”.
Add the Greeting Agent
- Click Agent in the sidebar.
- Open File > Load Template, choose the category Agent Diagram and the template Greeting Agent, then click Load Template.
- Click Quality Check. It reports “Diagram is valid”.
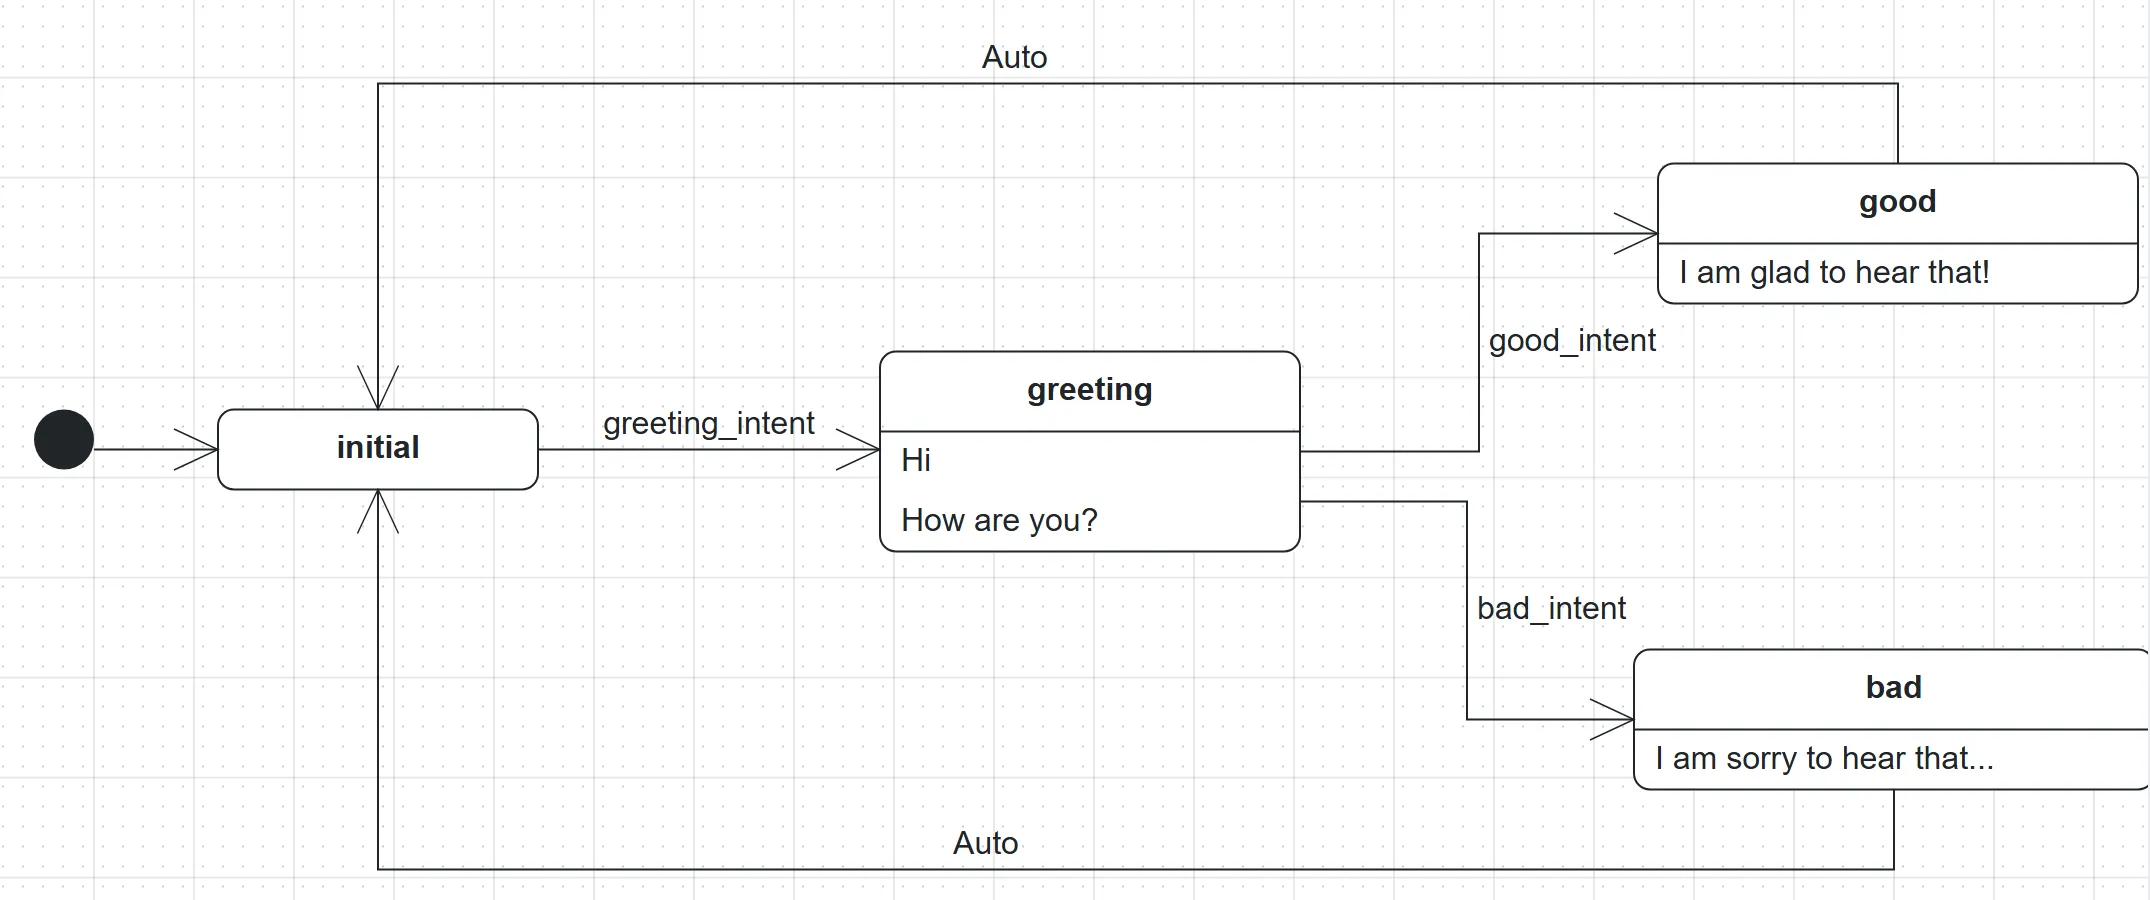
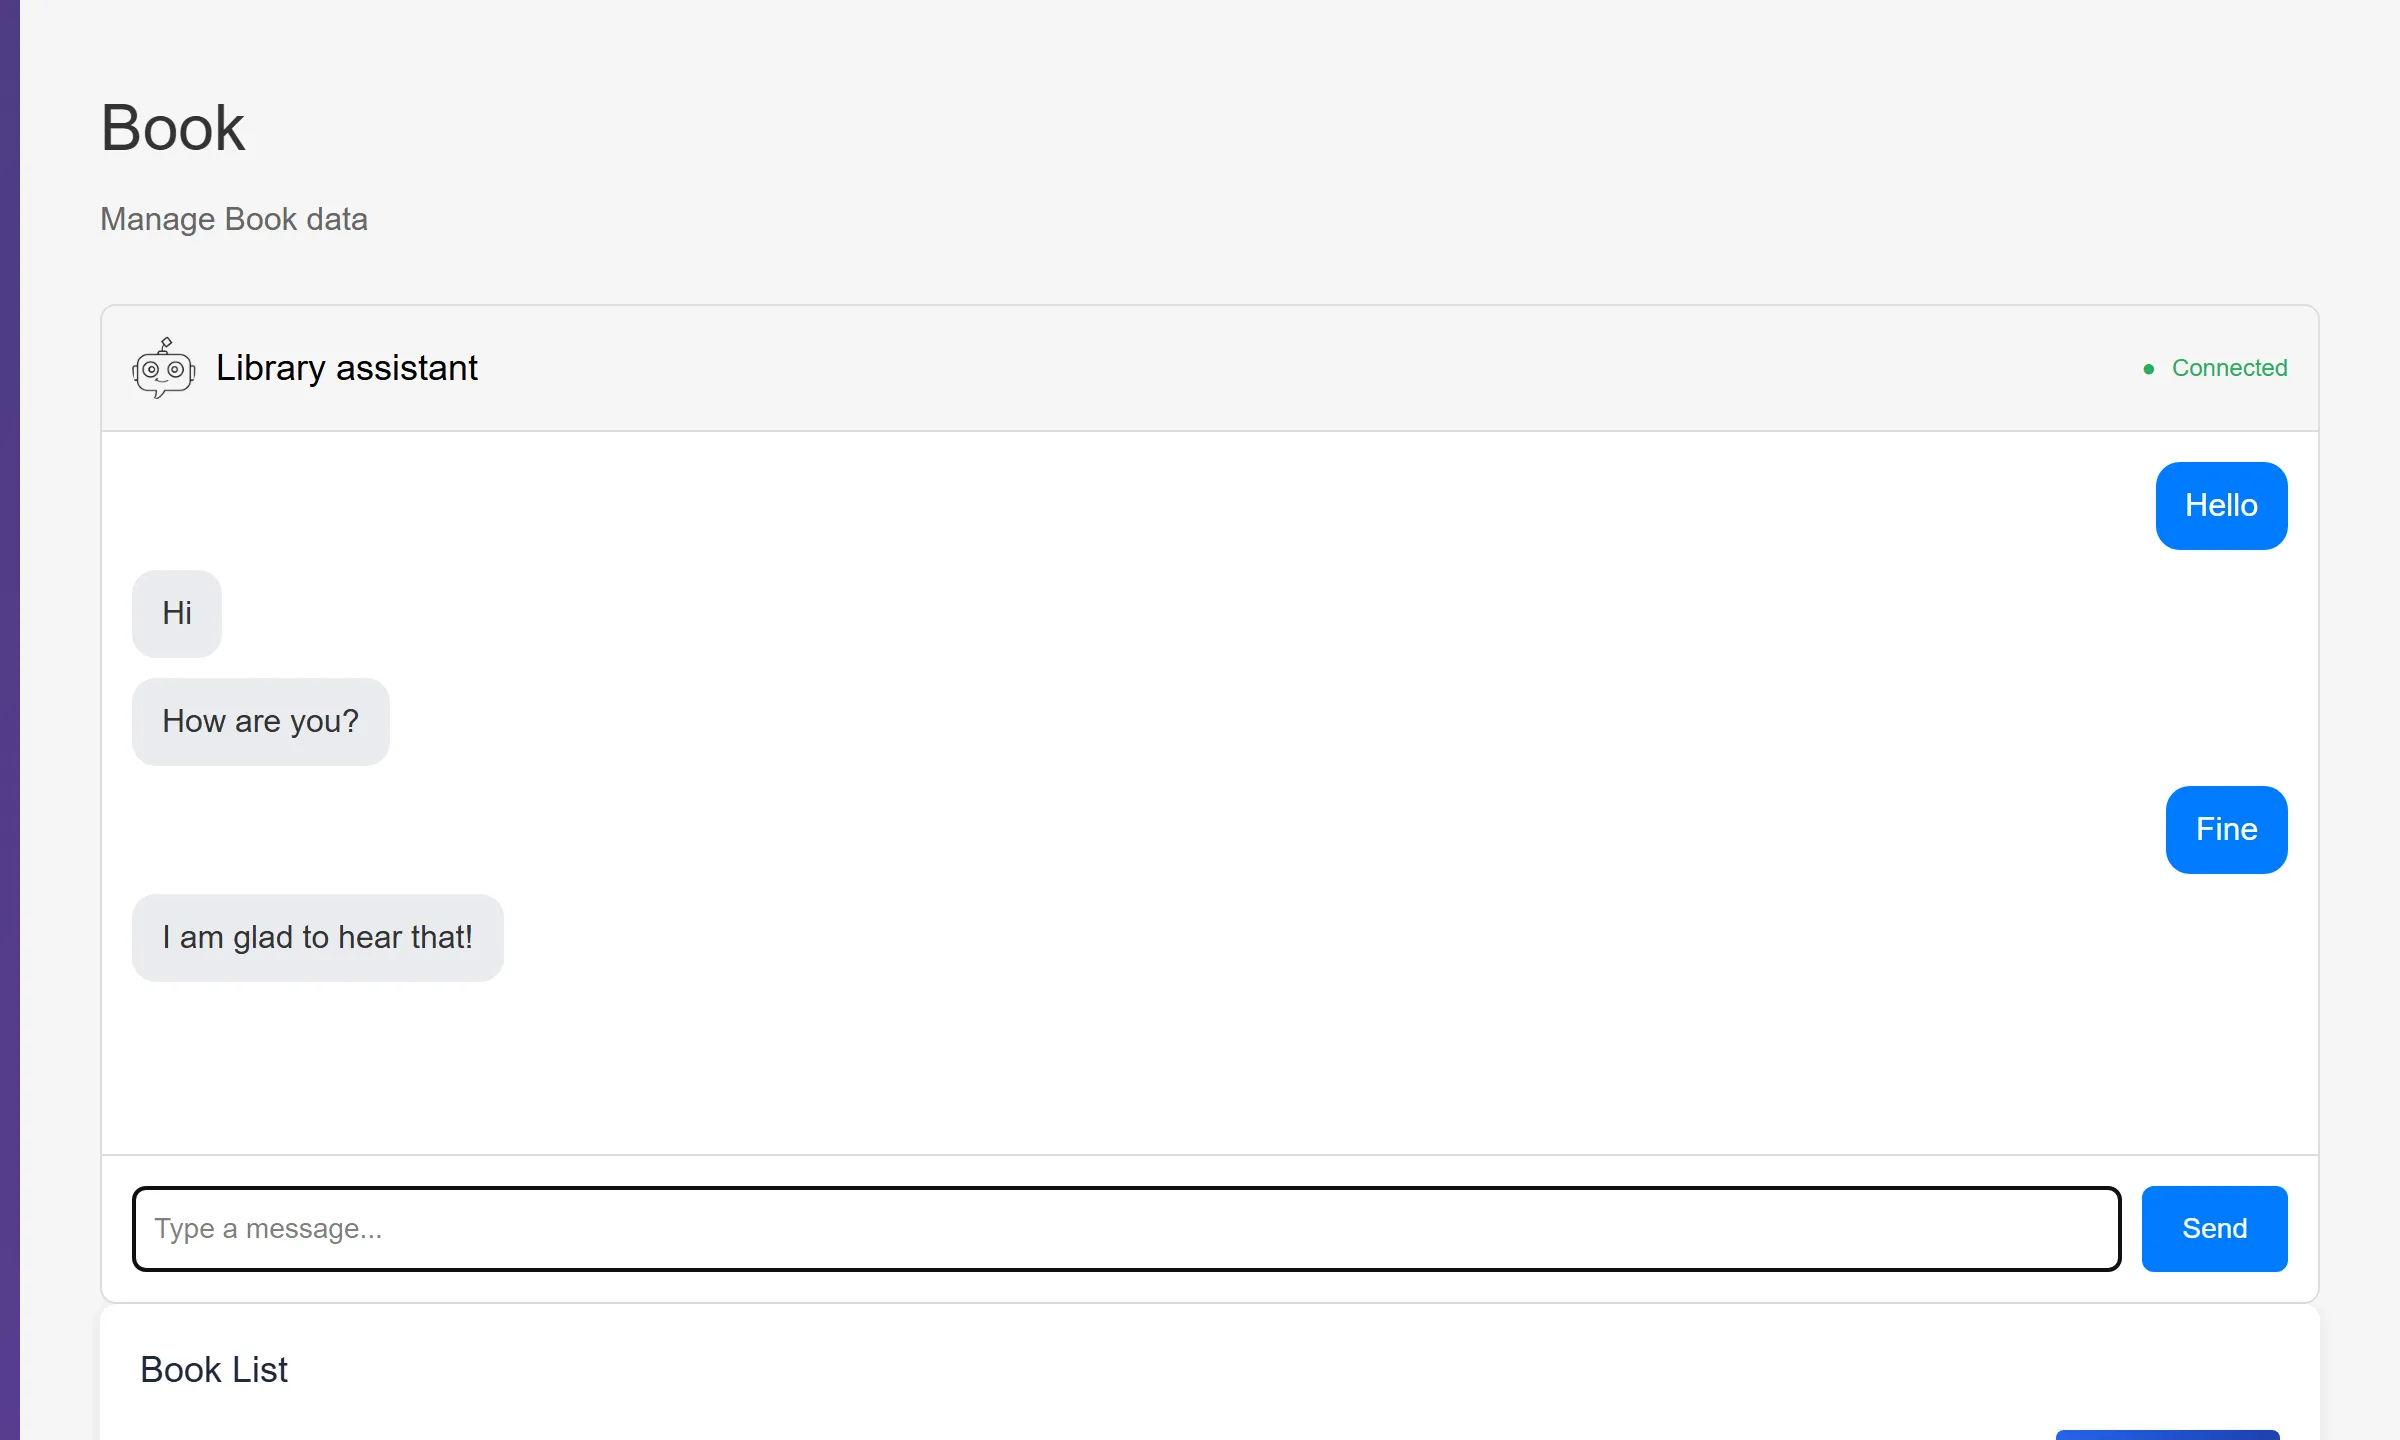
Read the model before you continue. The agent waits in initial. When the user’s message matches
greeting_intent (training sentences such as “Hi”, “Hello”, “Howdy”) it moves to greeting, which replies
“Hi” and “How are you?”. The answer is classified as good_intent or bad_intent, the matching state
replies, and an Auto transition returns to initial. No language model is involved, so the agent needs
no API key.
Generate the GUI from the class diagram
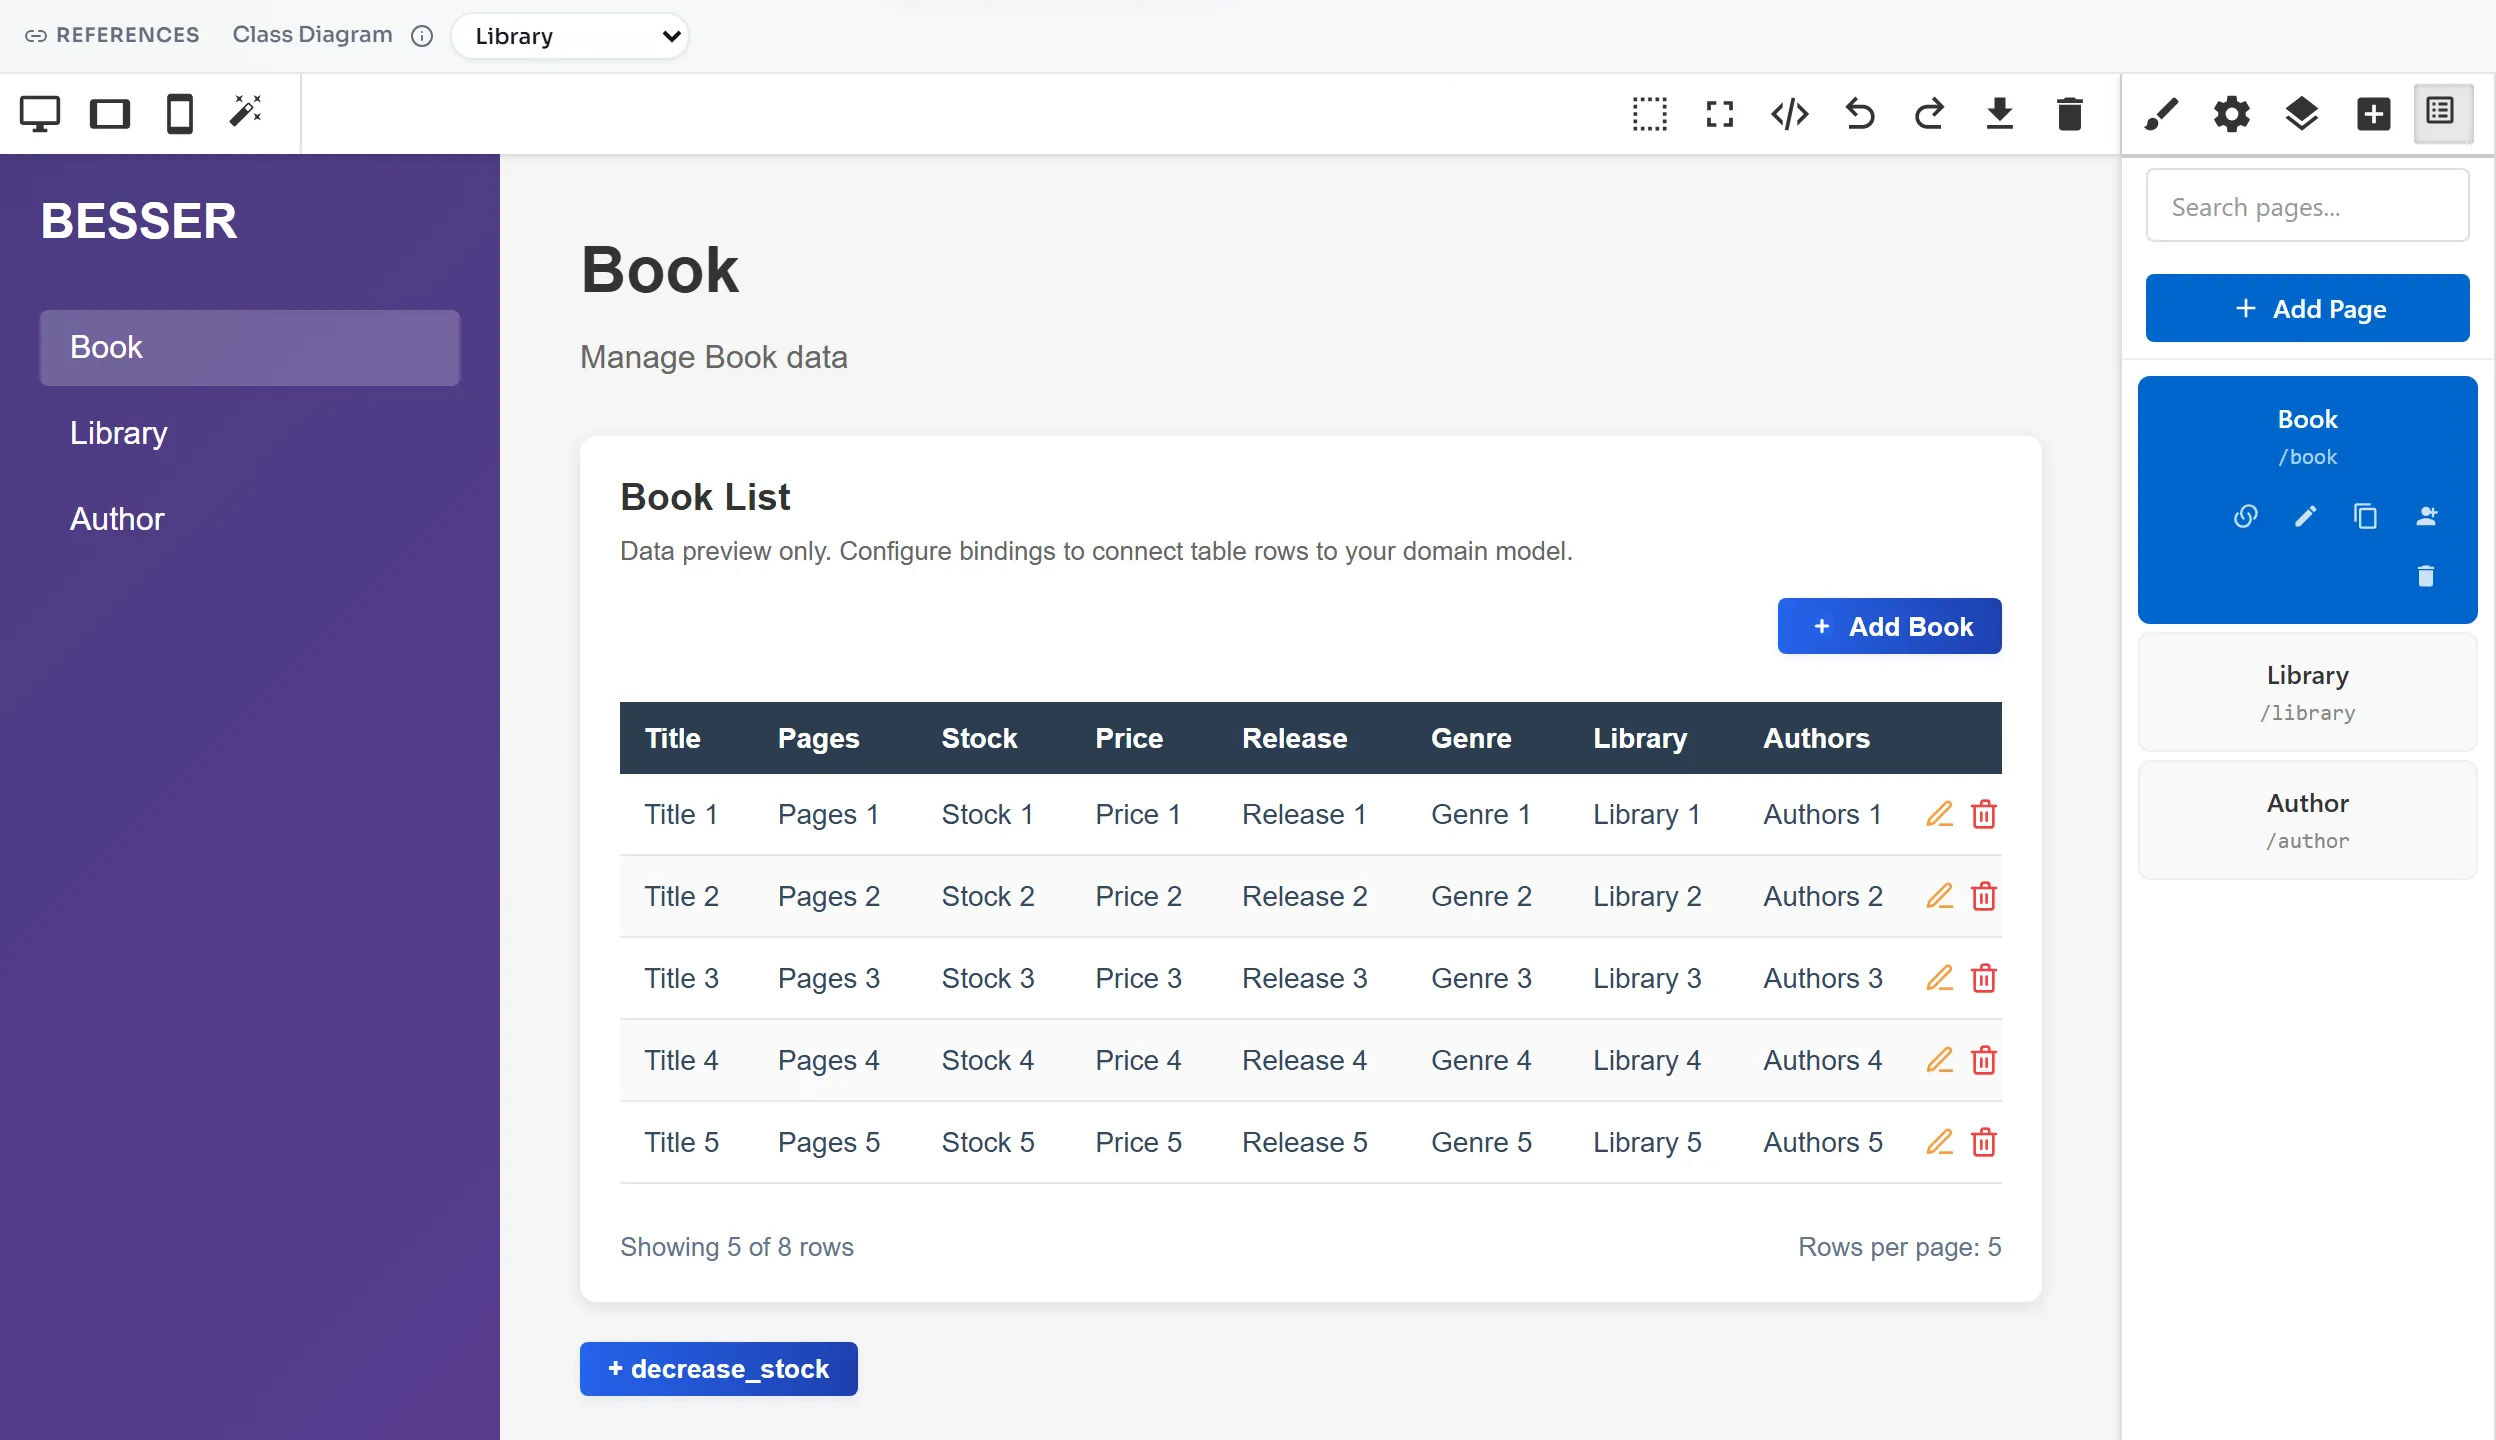
- Click GUI in the sidebar. The page builder opens with an empty canvas. The REFERENCES bar shows
that this GUI uses the class diagram
Library.
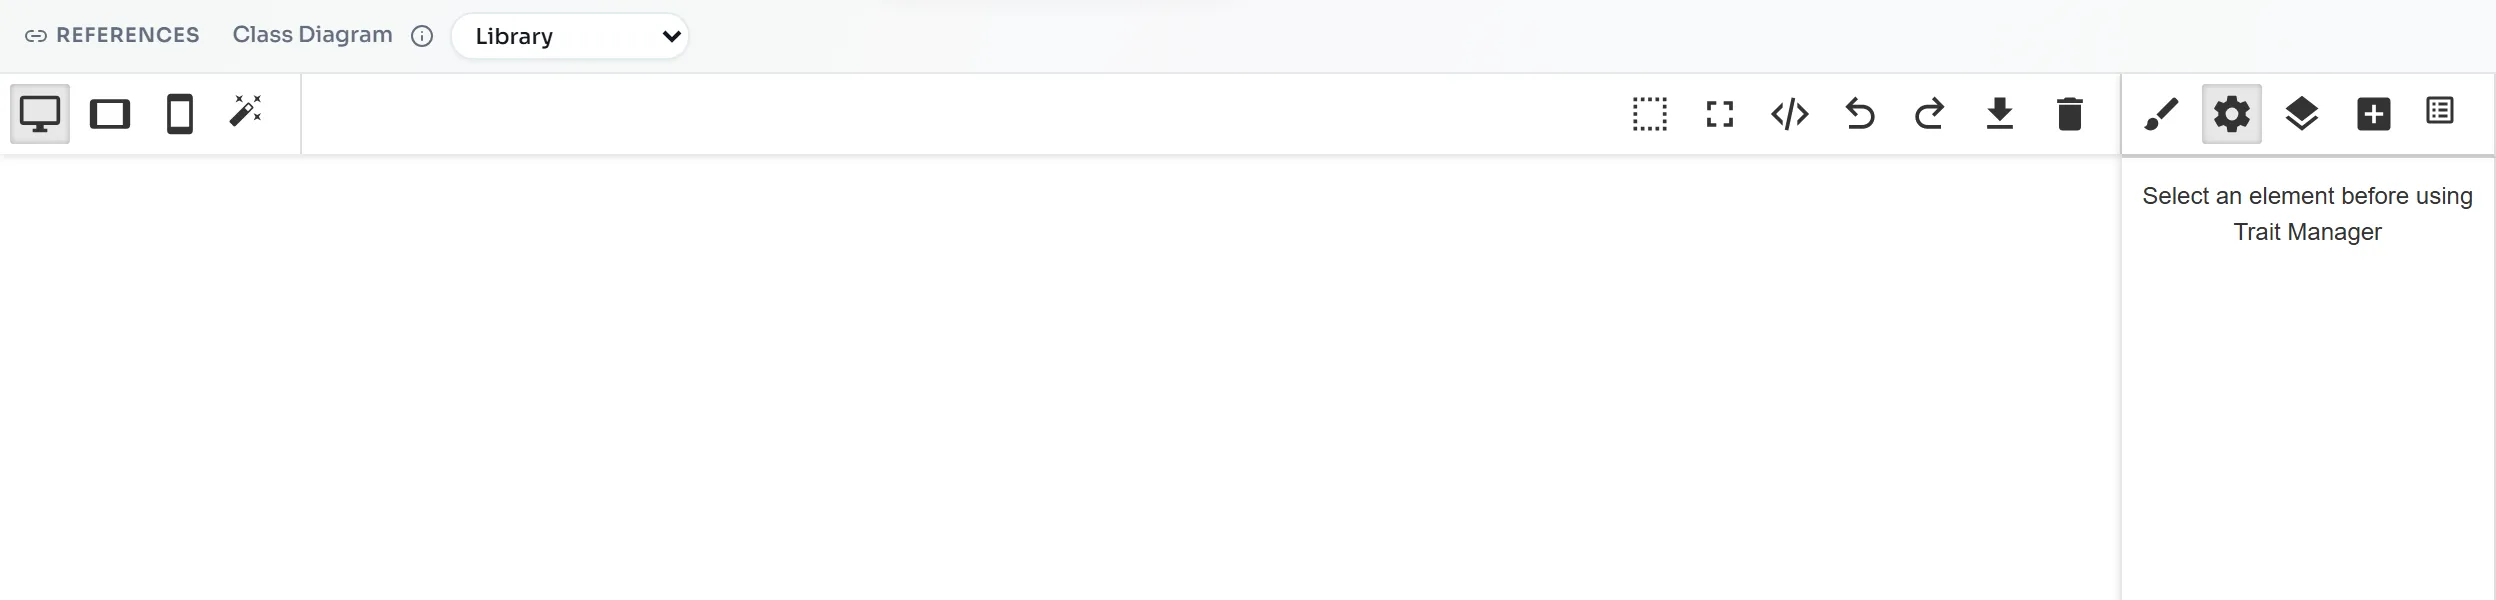
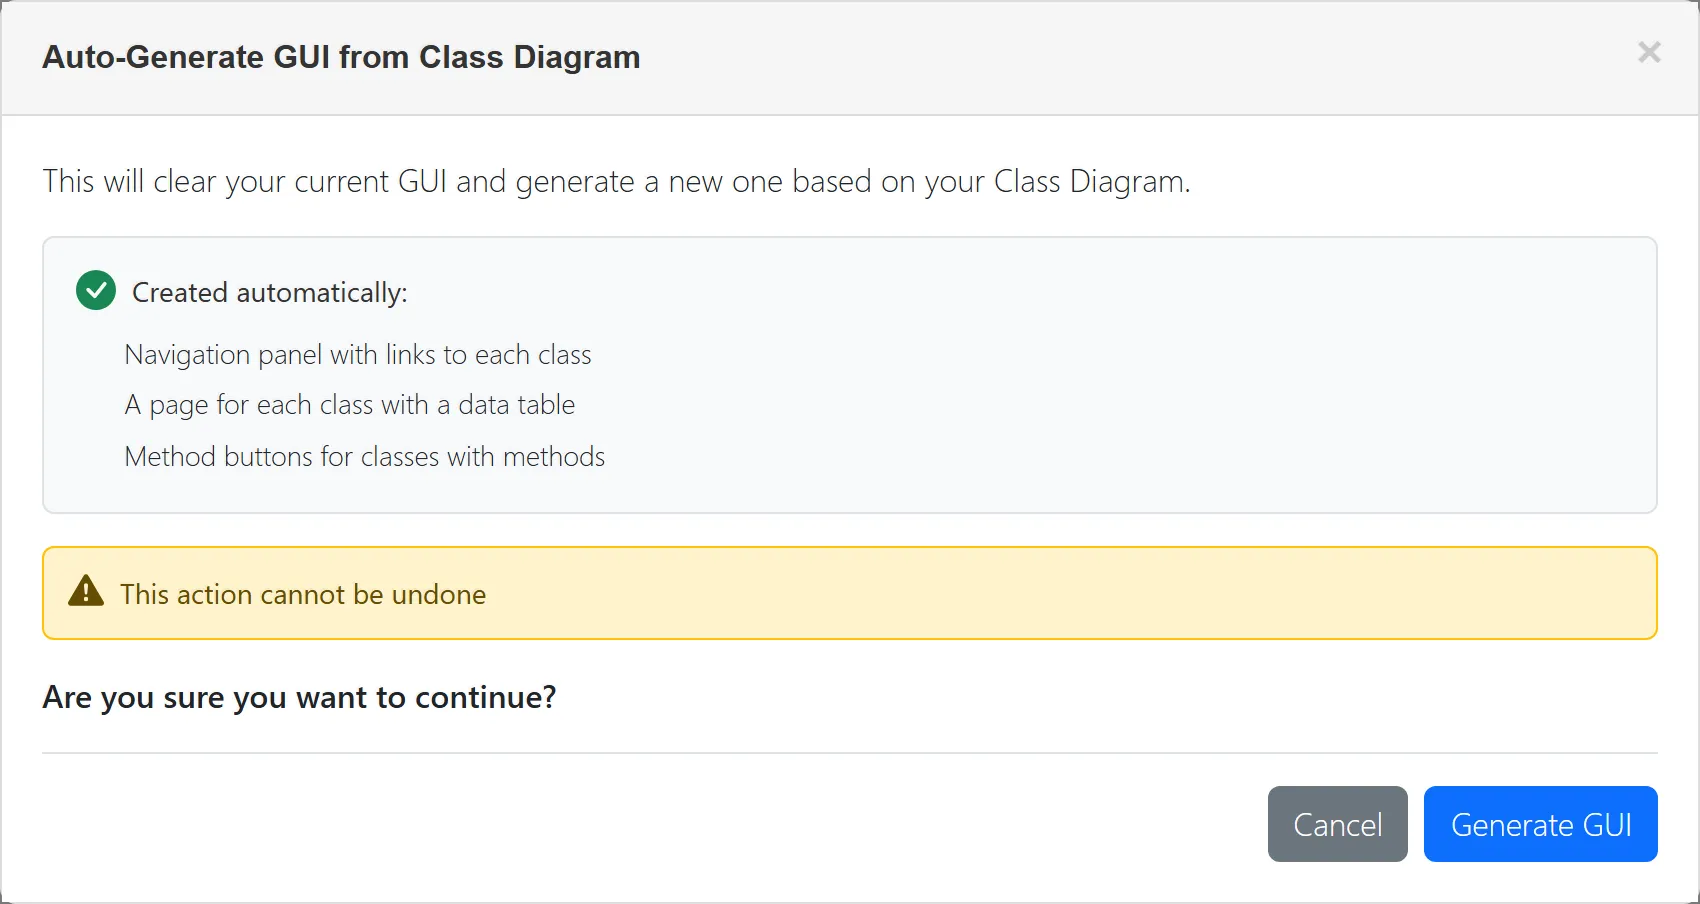
- Click the magic-wand button, Auto-Generate GUI from Class Diagram.
- The dialog warns that it will clear the current GUI and lists what it creates. Click Generate GUI.
- Open the Pages panel (the right-most icon in the panel toolbar) and click the Book page.
Add a bar chart and the chatbot widget
The table already exists. Add a chart of book prices and the Greeting Agent as a chat window on the Book page.
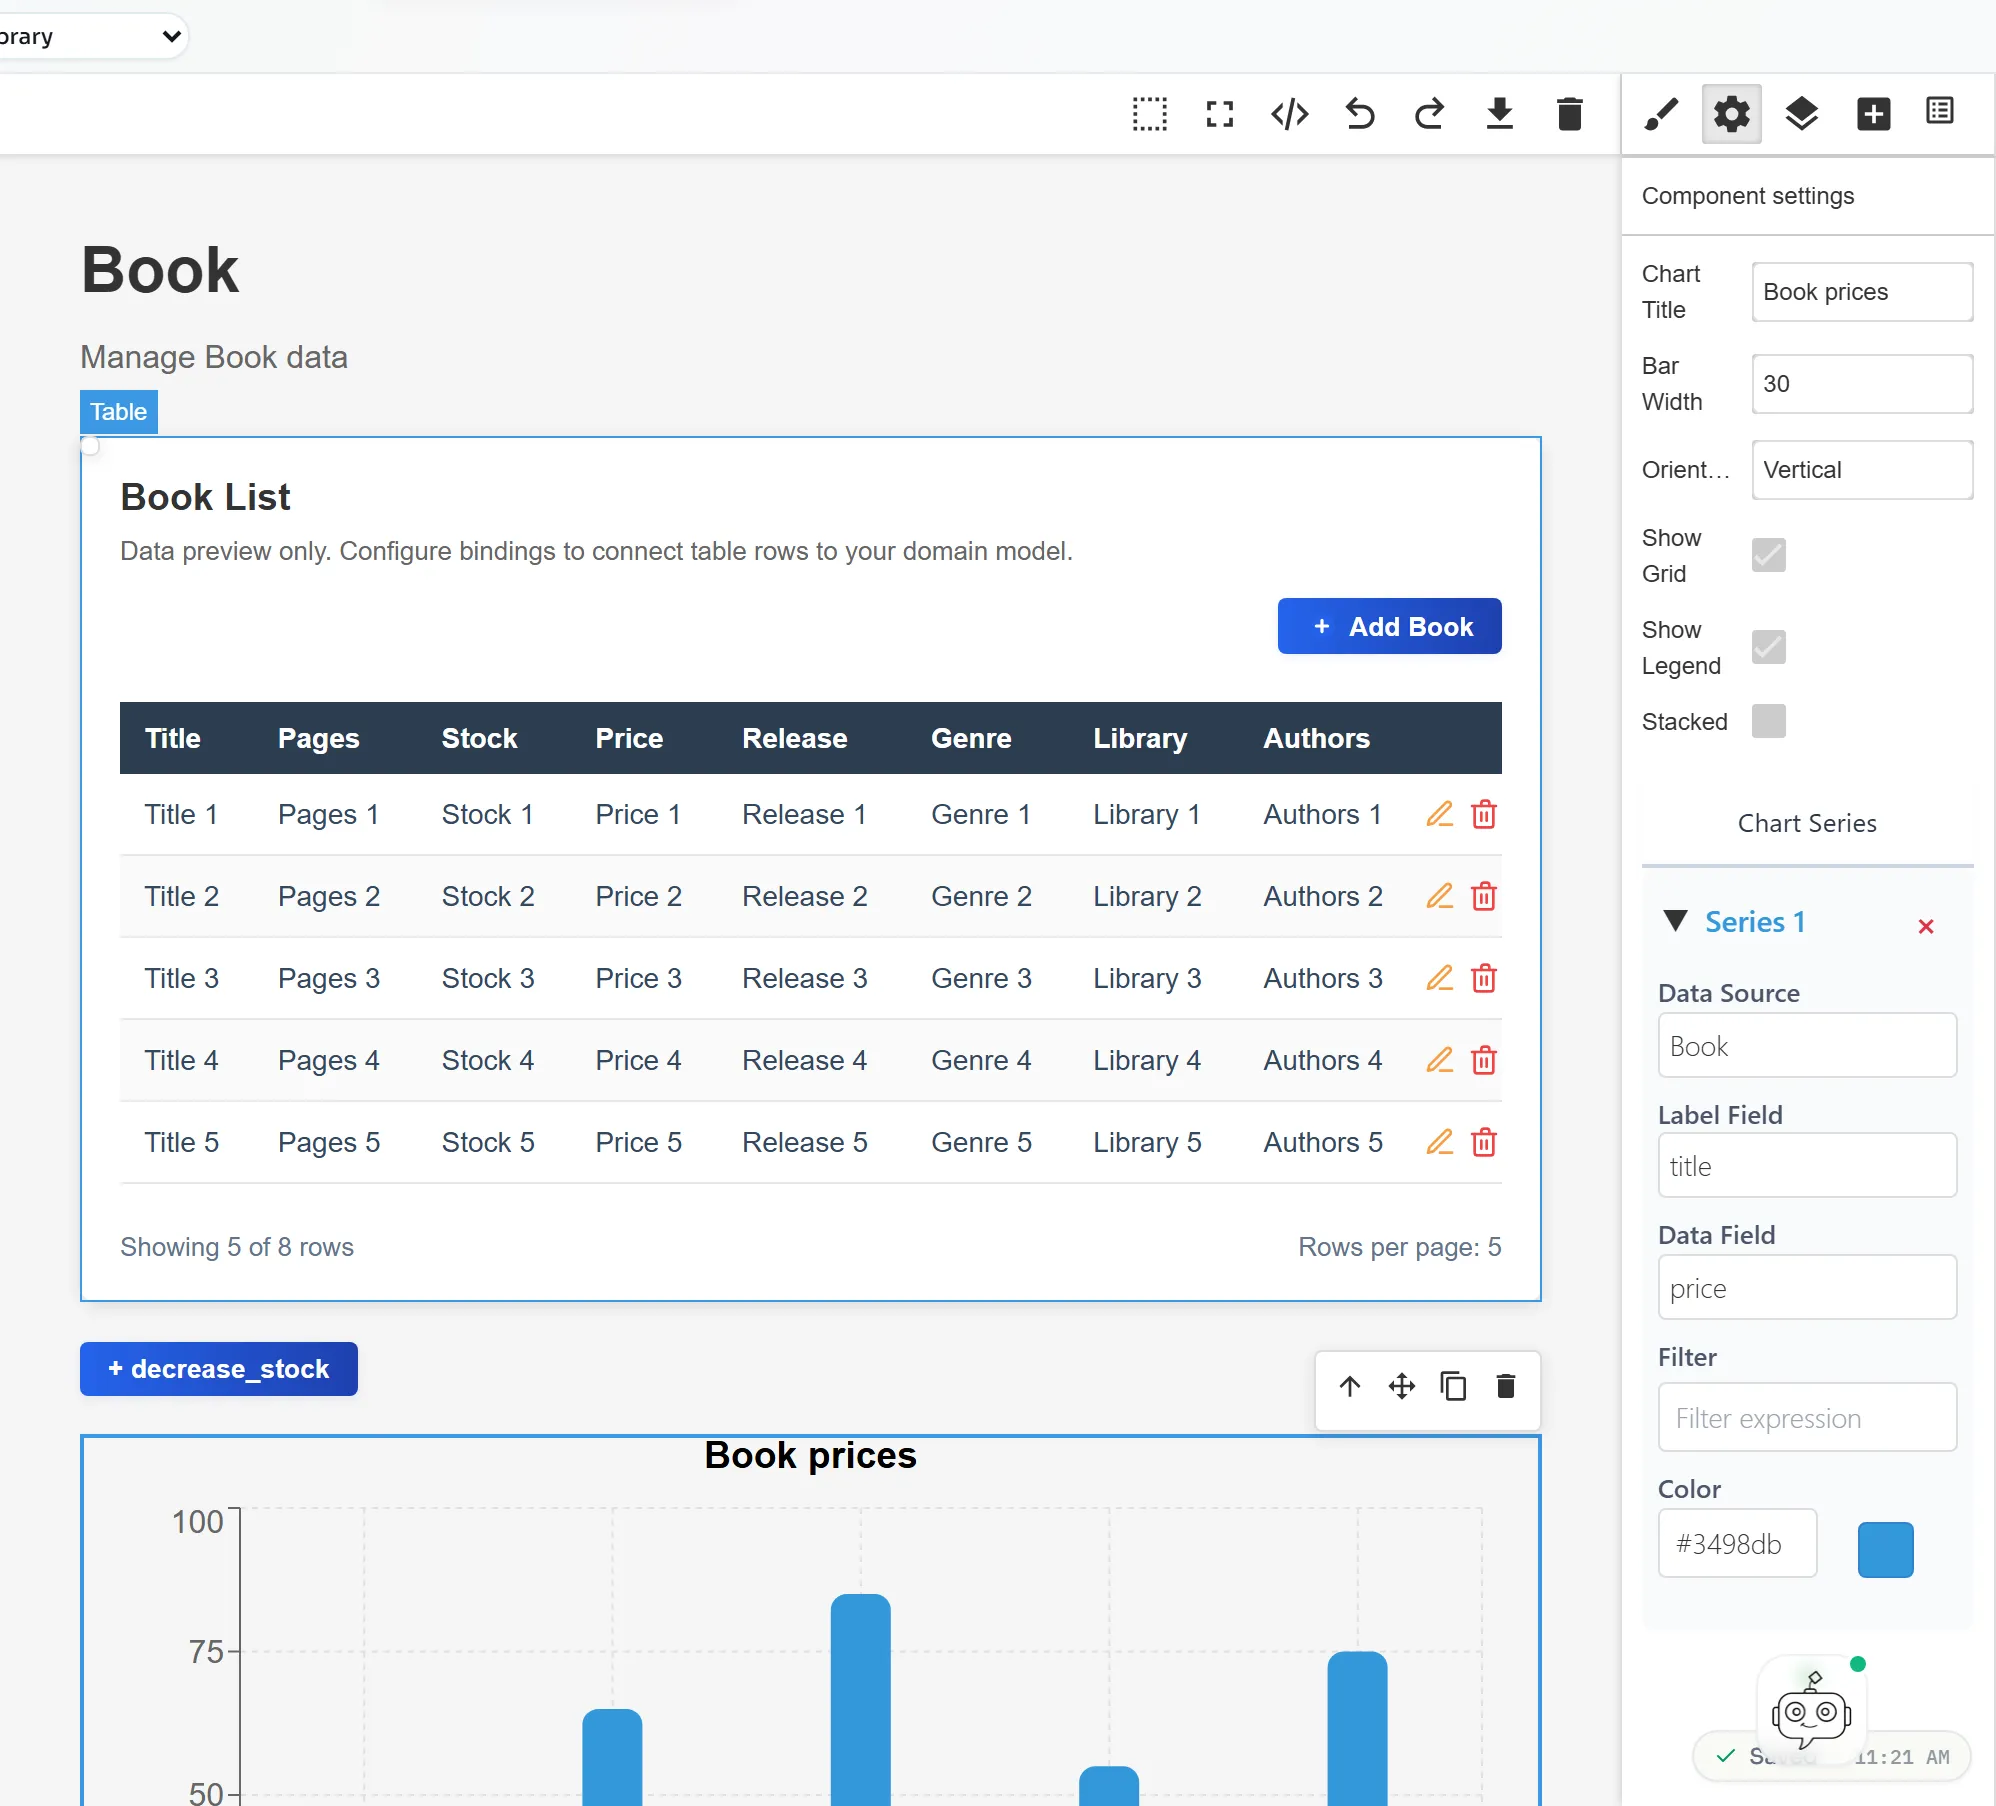
- Open the Open Blocks panel (the plus icon in the panel toolbar). Drag Bar Chart from the Basic group onto the Book page, below the decrease_stock button.
- Click the chart to select it. The Component settings panel opens. Set:
- Chart Title:
Book prices - Under Chart Series > Series 1: Data Source
Book, Label Fieldtitle, Data Fieldprice
- Chart Title:
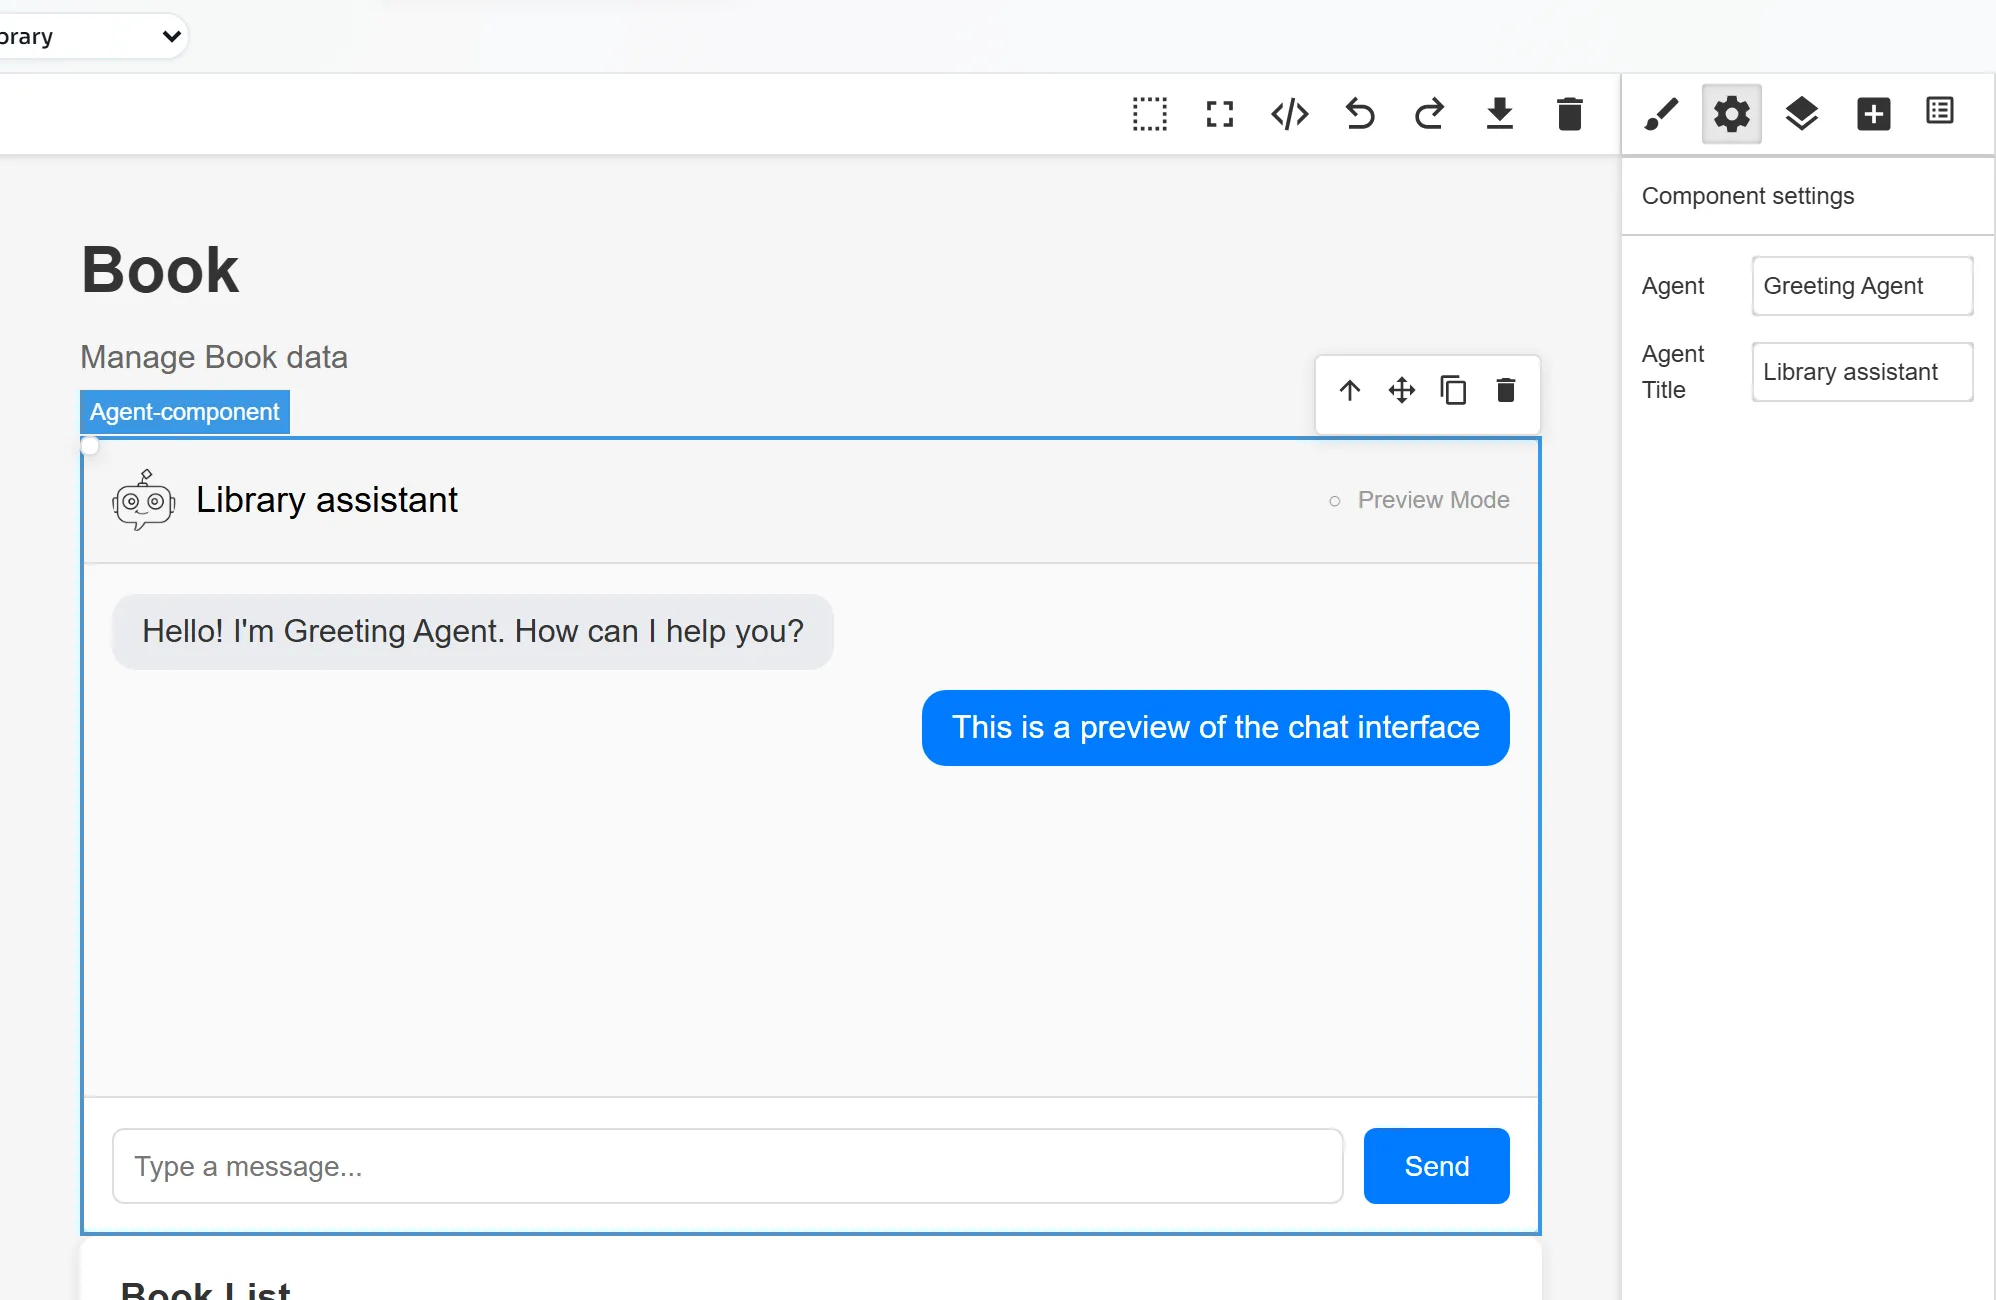
- Open Open Blocks again and drag BESSER Agent onto the Book page, above the Book List table.
- Click the widget. In Component settings, choose
Greeting Agentin the Agent field and set Agent Title toLibrary assistant.
Generate the web application
- With the GUI editor open, choose Generate > Web Application. (From the class diagram, the same generator is under Generate > Web > Web Application.)
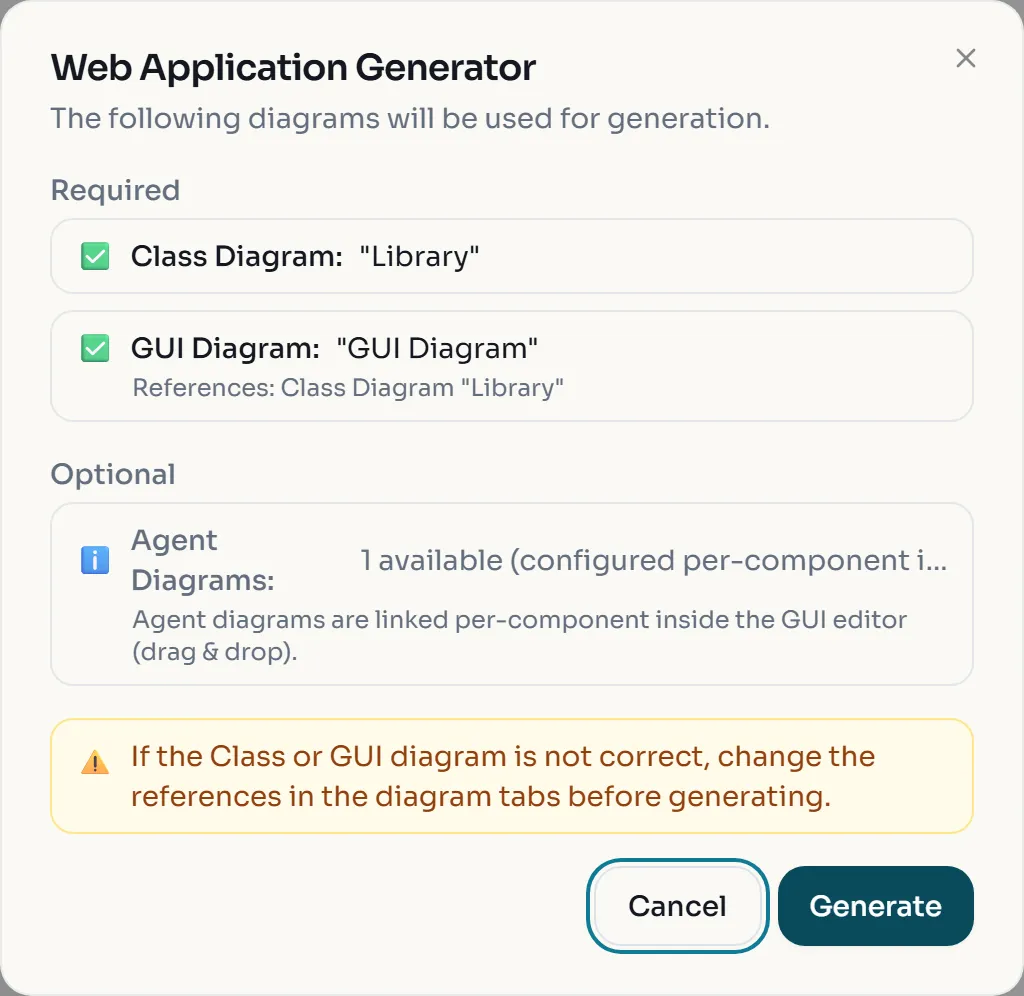
- The Web Application Generator dialog lists the diagrams it will use. Check that both required diagrams have a green tick, then click Generate.
- The browser downloads
web_app_output.zip. The zip has no top-level folder, so create a folderlibrary_app/and extract it there. You get:
library_app/
├── docker-compose.yml
├── BESSER_GENERATION.md
├── backend/          FastAPI app: main_api.py, routers/, sql_alchemy.py, pydantic_classes.py, Dockerfile
├── frontend/         React + TypeScript (Vite): src/pages/Book.tsx, Library.tsx, Author.tsx, Dockerfile
└── agents/
    └── greeting_agent/   Greeting_Agent.py, config.yaml, Dockerfile
Open frontend/src/pages/Book.tsx. Your GUI model is now code: you find
<AgentComponent ... agent-name="Greeting Agent" agent-title="Library assistant" /> and a
<ChartBlock ... chartType="bar-chart" title="Book prices" ...>.
Run the application with Docker Compose
docker-compose.yml defines three services: frontend on port 3000, backend on port 8000 with a SQLite
database in the volume sqlite_data, and greeting_agent_agent with its WebSocket on port 8765 (and 5000).
- Make sure ports 3000, 8000, 8765 and 5000 are free, then start everything from
library_app/:
docker compose up --buildThe first build downloads Python, Node and PyTorch layers and takes several minutes (about 7 minutes on a fast connection; the agent image alone is about 3 GB). It is ready when the log shows these three lines:
backend-1               | INFO:     Uvicorn running on http://0.0.0.0:8000 (Press CTRL+C to quit)
greeting_agent_agent-1  | ... Greeting_Agent's WebSocketPlatform starting at ws://0.0.0.0:8765
frontend-1              |  INFO  Accepting connections at http://localhost:3000
The agent also logs an error about the monitoring database (could not translate host name "YOUR-DB-HOST").
Monitoring is optional and the agent works without it.
- Open http://localhost:3000. The app opens on the Book page. The table and the chart are empty because the database is empty.
- Type
Helloin the chat window and press Enter, then answerFine.
Fill the database through Swagger and see it in the app
The backend is the same kind of FastAPI service you would get from Generate > Web > Full Backend, with interactive documentation at http://localhost:8000/docs.
- In Swagger, expand POST /library/, click Try it out, and execute:
{
  "name": "City Library",
  "address": "1 Main Street",
  "telephone": "+352 123 456",
  "web_page": "https://library.example.org"
}- Create an author with POST /author/:
{
  "name": "Ada Writer",
  "birth": "1970-05-01"
}- Create three books with POST /book/, changing
title,priceandgenreeach time. In the Library template a book can belong to several libraries, solibraryis a list here:
{
  "title": "Modeling 101",
  "pages": 240,
  "stock": 5,
  "price": 29.9,
  "release": "2024-03-15",
  "genre": "Technology",
  "library": [1],
  "authors": [1]
}
The other two books used in the screenshot are Patterns in Practice (42.5, Technology) and
Night Train (12.0, Thriller). Remember that the OCL constraint requires more than 10 pages.
- Reload http://localhost:3000. The Book List shows the three books with their library and author, and the Book prices chart draws one bar per book.
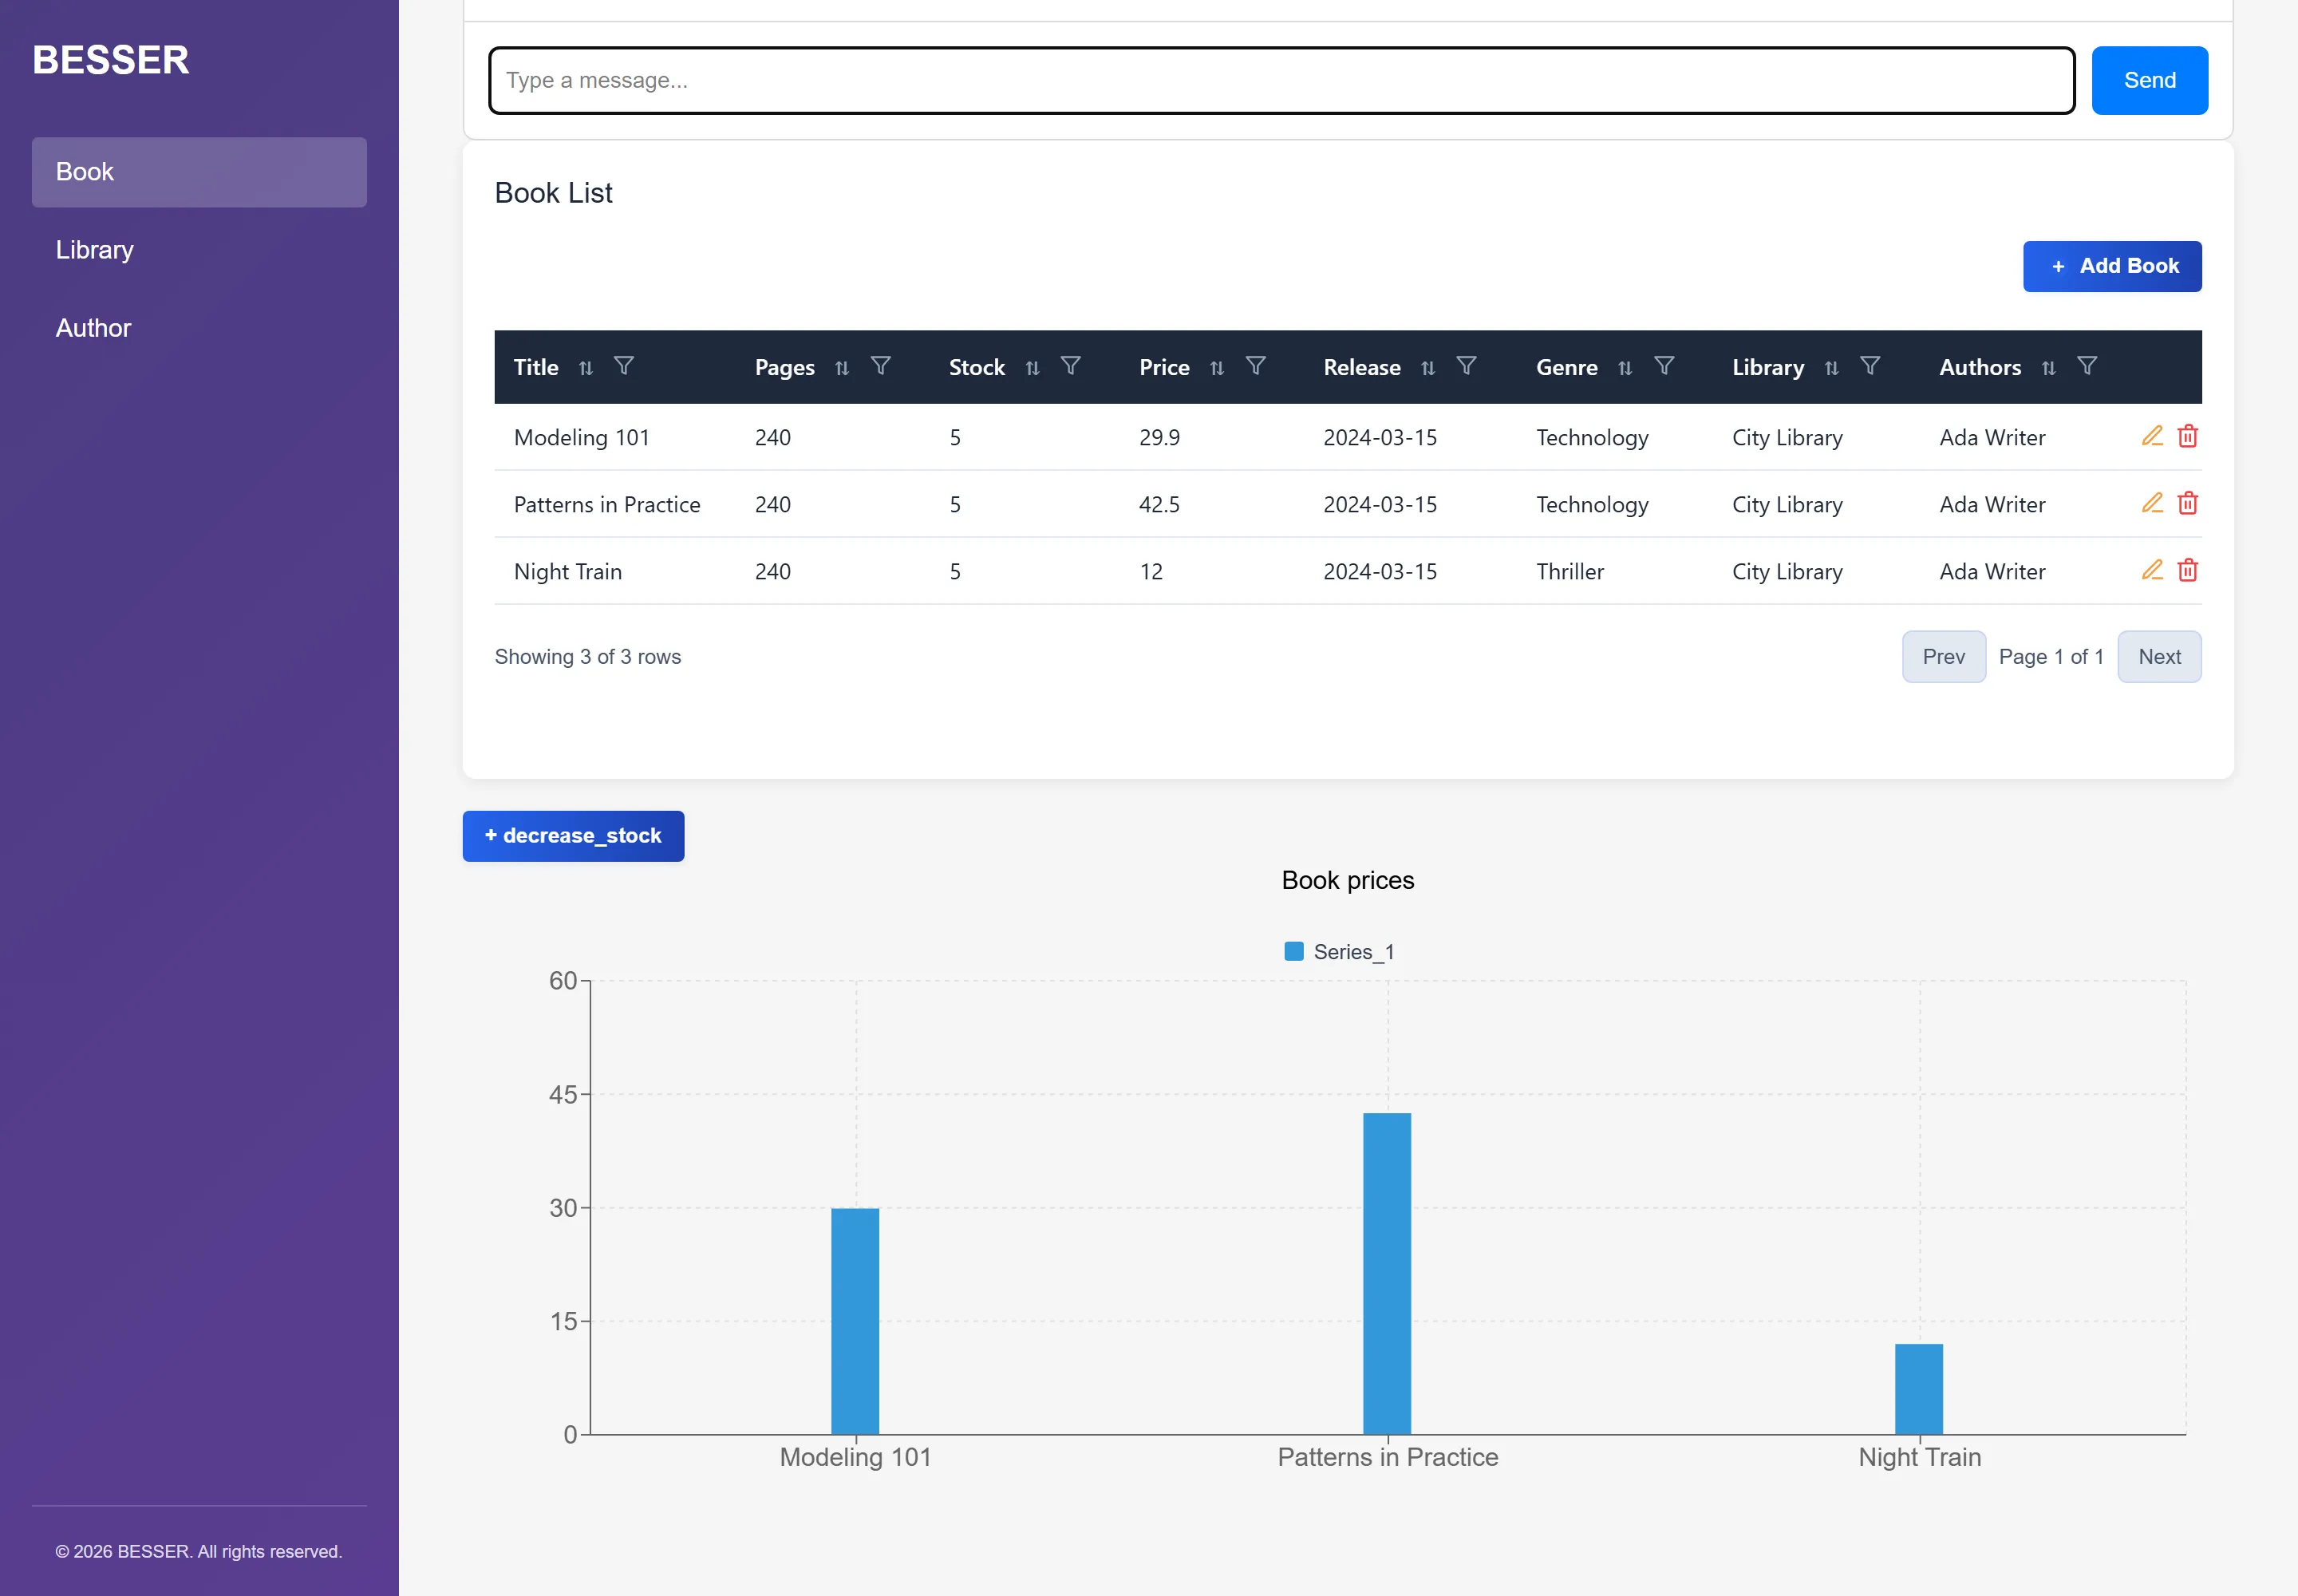
- Try the generated frontend as a user: open the Author page, click Add Author, fill in Name and Birth and submit. The form also offers the existing books as relationships. The pencil and bin icons in each row edit and delete records without Swagger.
When you are done, press Ctrl+C in the terminal and run docker compose down. Add -v
(docker compose down -v) only if you also want to delete the database volume.
Exercise: a digital twin dashboard
Show a solution
Decide the multiplicities first: 1 on the PhysicalThing end and 0..* on the Sensor end means every
sensor needs an existing physical thing when you create it. For the line chart, use timestamp as the label
field and value as the data field.
Show a solution
Start from the Greeting Agent structure: one hub state that every answer state returns to with an
Auto transition. Intent names must differ from state names, so use names like sensor_intent.
Remember the host: 0.0.0.0 change in the new agent’s config.yaml before you run it.